Uploading lists to cross-reference your data against Aleph datasets
Uploading your data to Aleph allows you to compare it against hundreds of other datasets such as sanctions lists, company registries, and more. This process is called cross-referencing. This page explains how to upload Excel or CSV files to Aleph in order to cross-reference them.
Let’s say you have a list of names of people or companies and you want to upload it to Aleph to see if there are matches between your names and other datasets to which you have access.
Preparing your data
First of all it is important to keep in mind that your Excel or CSV file needs to be clean and well organized. What does this mean? It means that the columns containing the names of persons, companies or corporations should only contain that type of information.
Useful tips when working with Excel or CSV files in Aleph:
- Avoid columns with multiple properties
- Try to stick to one format, for example always use the same date or address format
- Avoid duplicates and provide additional identifiers.
- Where possible, add information like date of birth, aliases, addresses, e-mails, IDs
✅ Good example
Cleaned and well-organized columns for cross-referencing:
| # | Full name | Position |
|---|---|---|
| 1 | Maria Consuelo Ramírez Scaglia | Secretaria General de la Presidencia |
| 2 | Diego José Montenegro López | Subsecretario General de la Presidencia |
| 3 | Sergio Alejandro Rosal Morales | Subsecretario General Administrativo |
| 4 | Claudia Isabel Mérida Pérez | Asesor Jurídico |
| 5 | Omar Ricardo Barrios Osorio | Asesor Jurídico |
| 6 | Ana Lucía del Aguila García | Asistente Despacho Superior |
| 7 | Gabriela Vásquez Galindo de Escobar | Asistente Despacho Superior |
❌ Bad example
Table without proper data cleaning:
| # | Full name | Position |
|---|---|---|
| 1 | Maria Consuelo Ramírez Scaglia (check) | Secretaria General de la Presidencia |
| 2 | Diego José Montenegro López | Subsecretario General de la Presidencia |
| 3 | Diego José M. López | Subsecretario General de la Presidencia |
| 4 | Claudia Isabel Mérida Pérez - CHECK | Asesor Jurídico |
| 5 | 1245 - Omar Ricardo Barrios Osorio | Asesor Jurídico |
| 6 | Ana Lucía del Aguila García | Asistente Despacho Superior |
| 7 | Gabriela Vásquez Galindo de Escobar | Asistente Despacho Superior |
Why is the table above a bad example? There are comments after people’s names (row 1 and 4) and the same person is mentioned in different ways (row 2 and 3). The same can happen with companies. This is why it is important to check the list structure and information before uploading the sheet in Aleph.
Uploading your spreadsheet
In order to cross-reference data from a spreadsheet, you first need to upload the spreadsheet to Aleph.
-
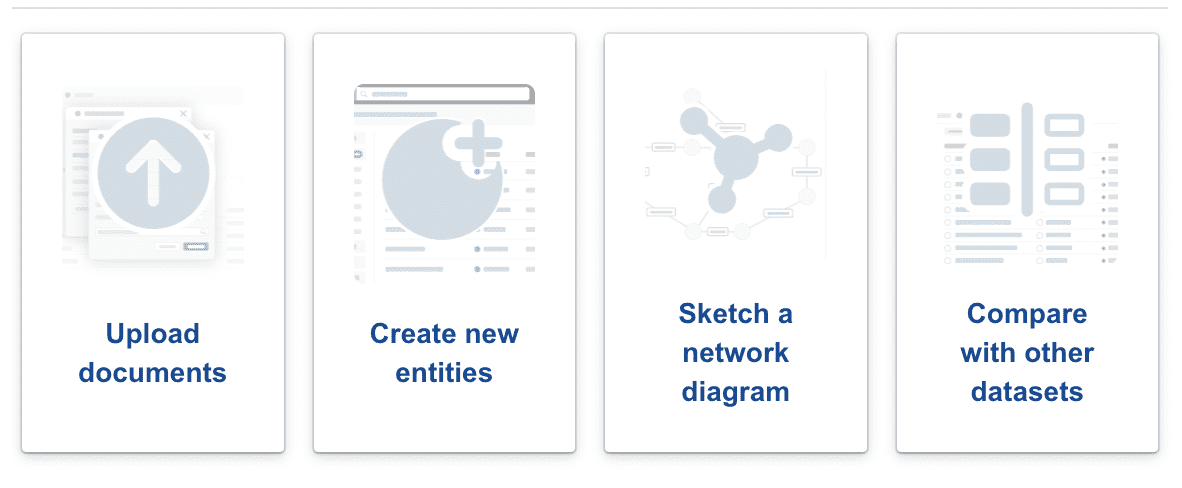
Go to Upload documents in your investigation:
-
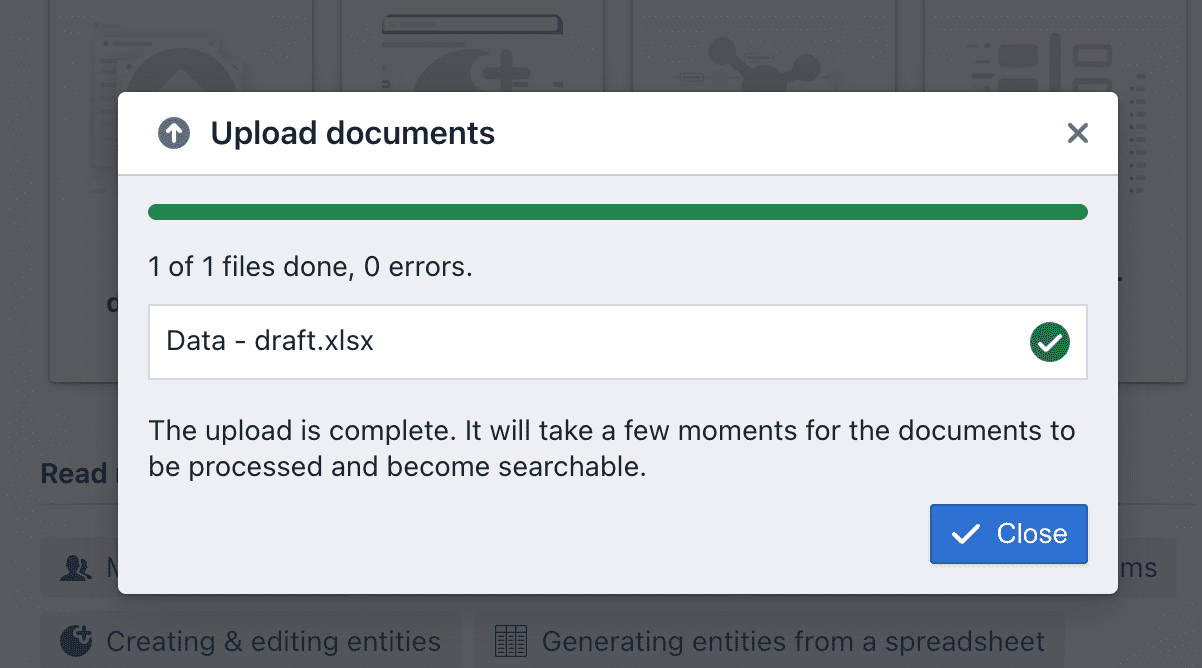
Then find the file on our computer and upload it. In our case, the Excel file is called Data - draft:
-
Click on Close and wait for a few seconds.
-
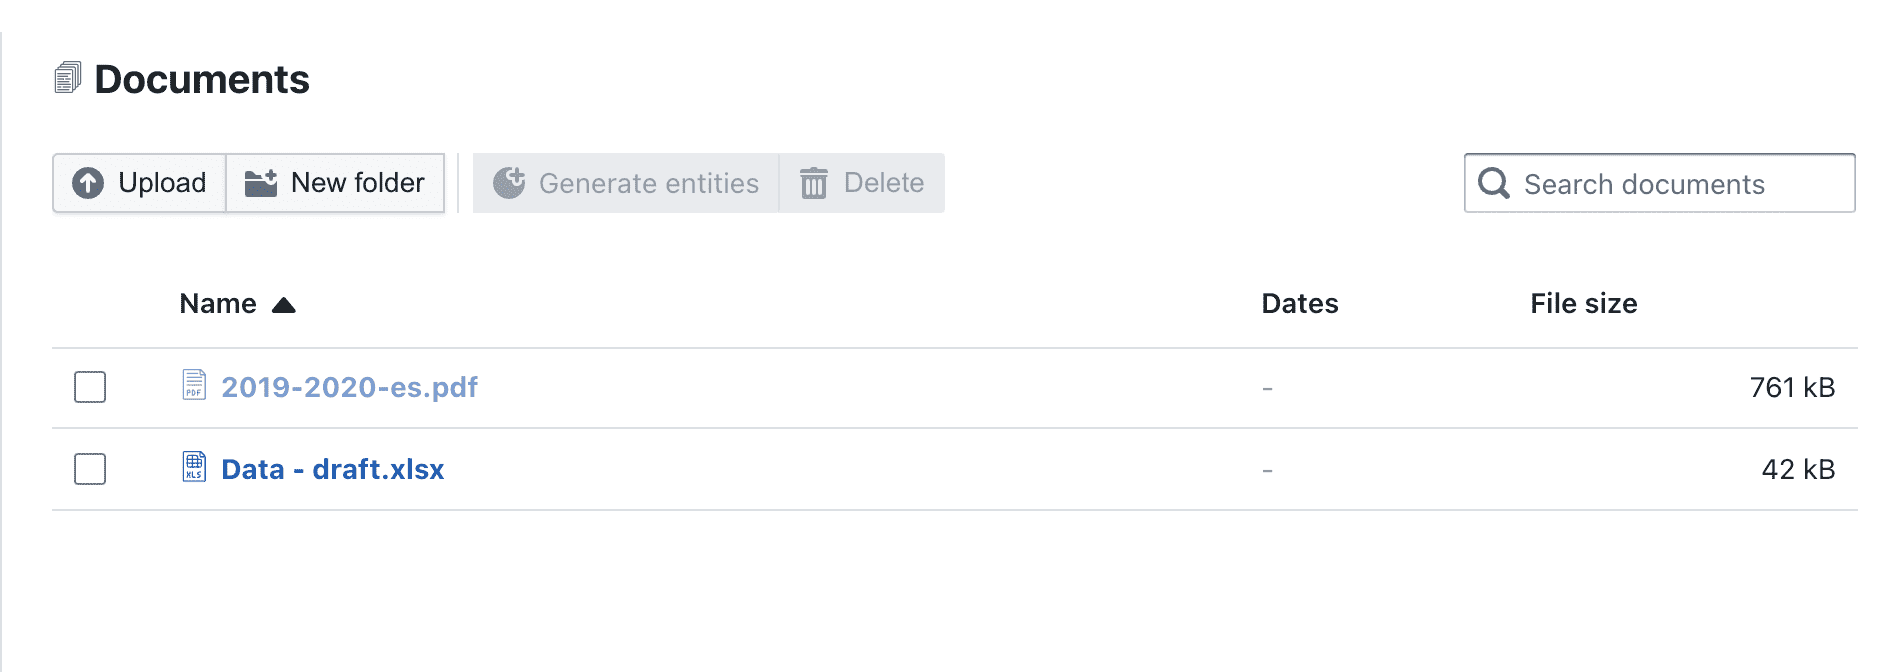
Then go to the Documents section (left menu). There you will see the uploaded file:
Generating entities from your spreadsheet
Once you have upload your spreadsheet to Aleph, you will need to generate entities from the rows in the spreadsheet. Once you have generated entities, you can then compare these entities to other datasets in Aleph.
-
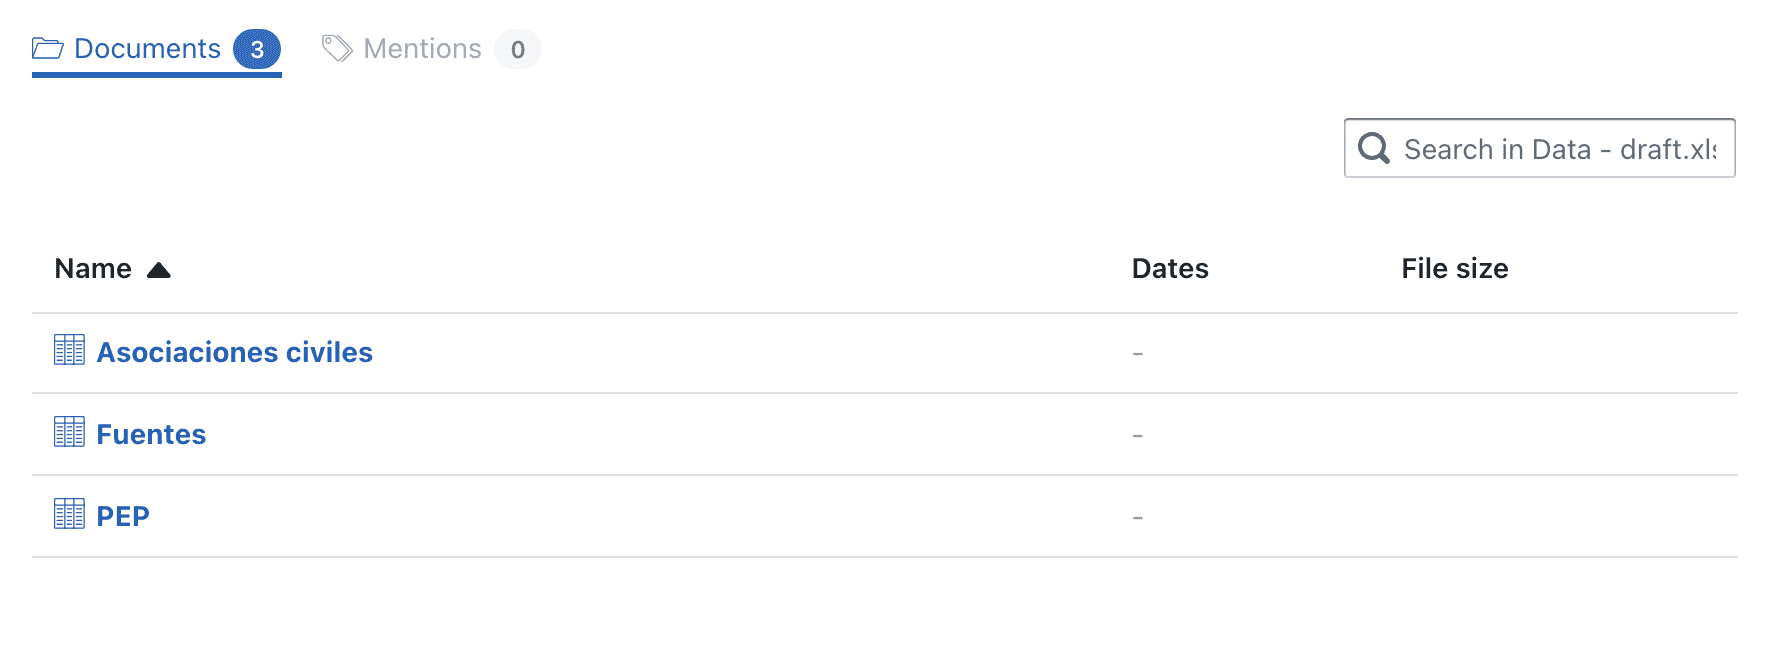
Click on Data - draft.xlsx, the spreadsheet you just uploaded. You will see that the file has three sheets:
-
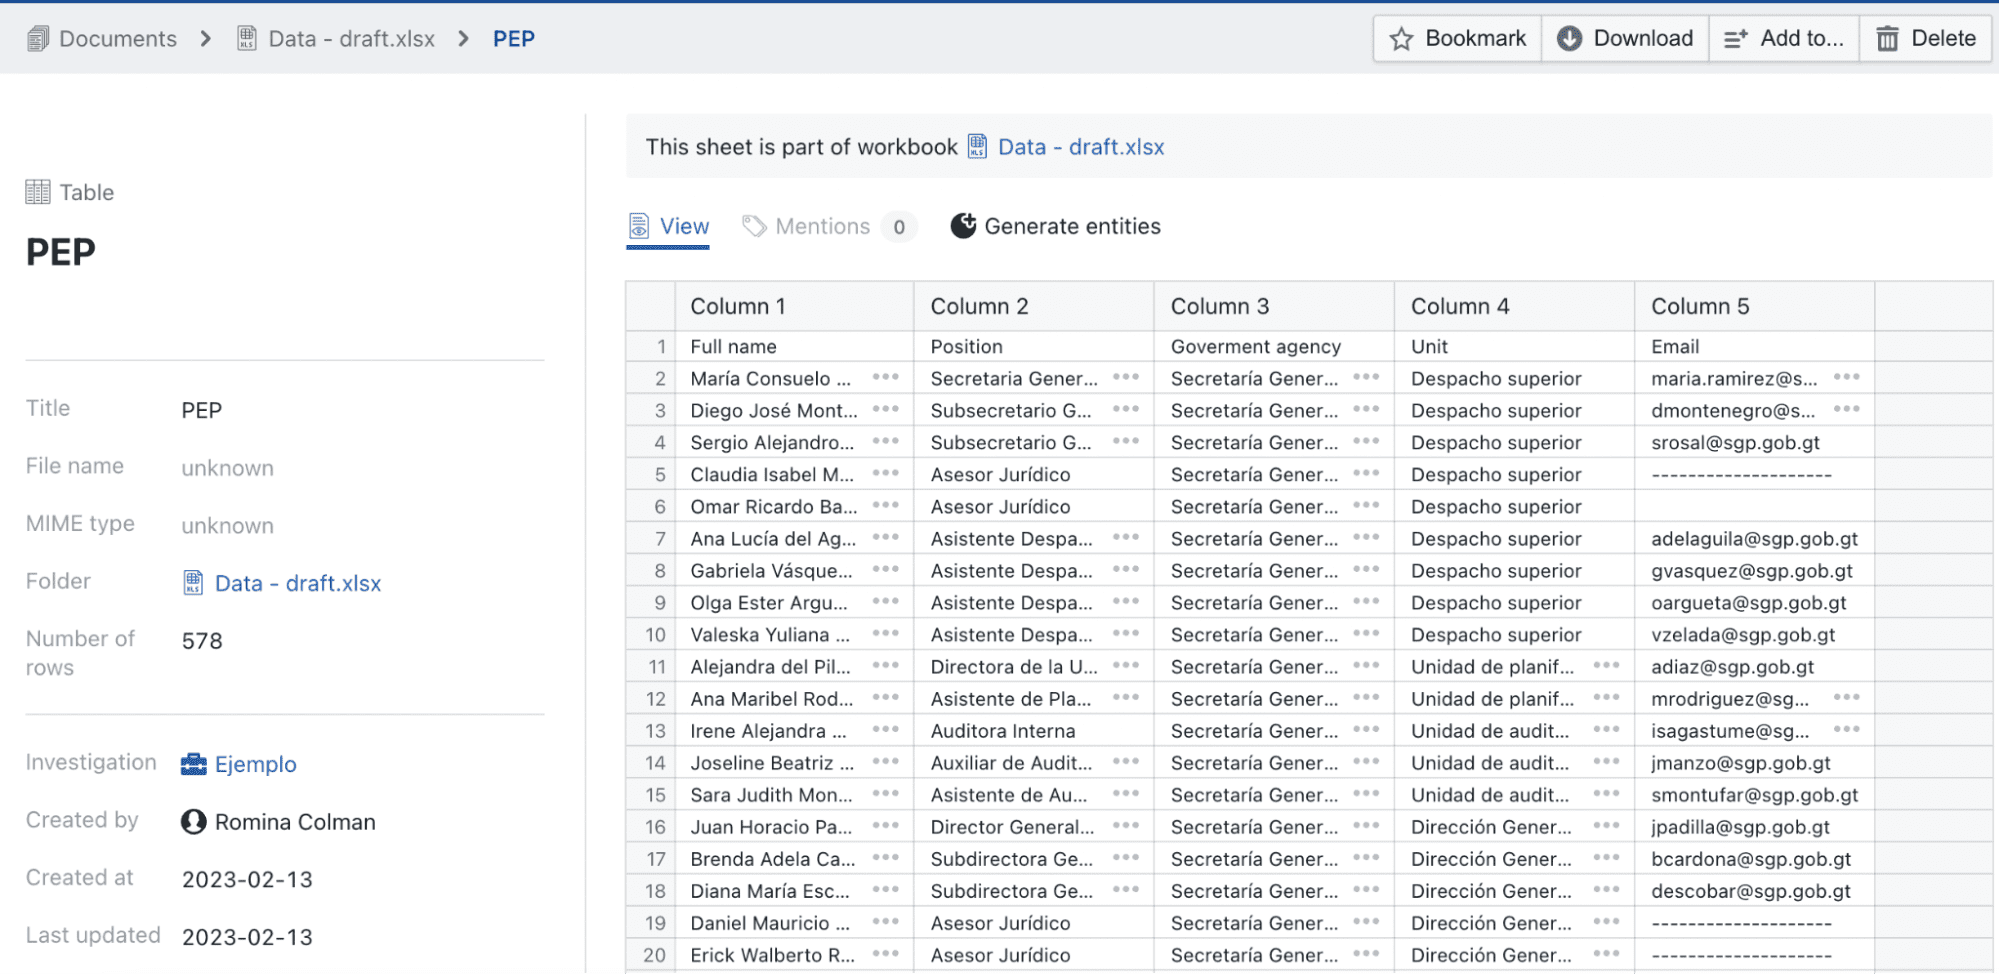
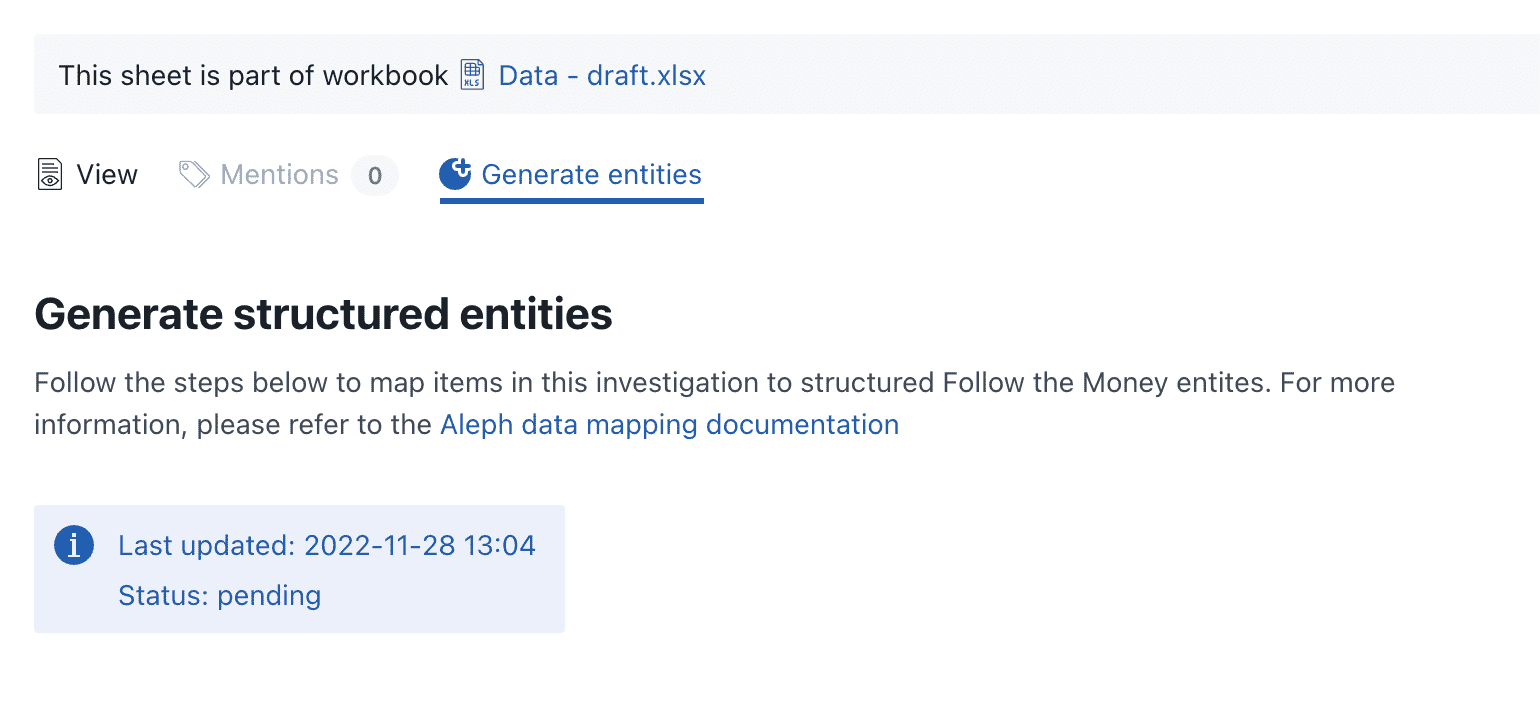
We must always select the sheet that contains the data we want to cross-reference against Aleph databases. In our case, the information is in the PEP sheet. By clicking there we will see a preview of the data in our list. As you can see in the image below, we are in View mode, although there are also the options Mentions and Generate entities, all of them located above our table:
-
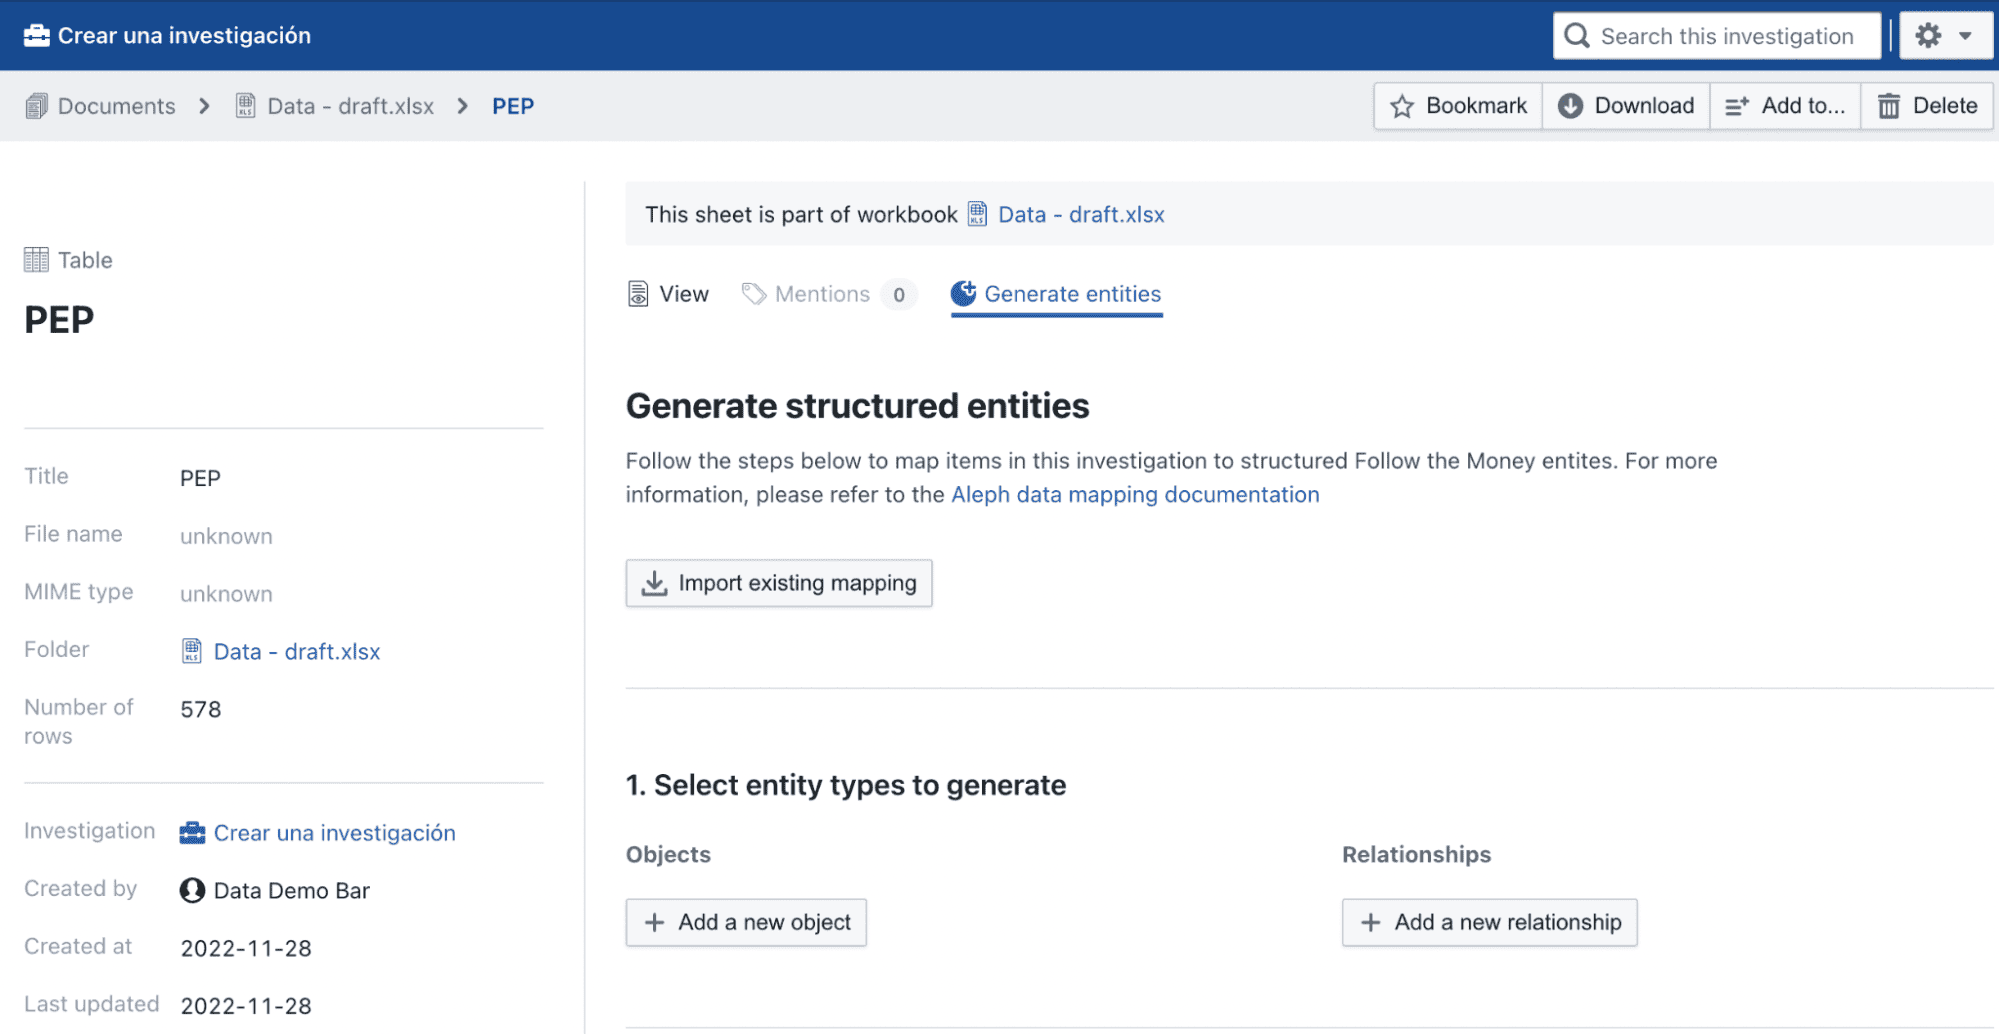
Please select Generate entities. Aleph will take us to a new screen. Why? Because Aleph needs more details to understand what is on your sheet:
-
Then go to 1. Select entity types to generate and click on + Add new object. This is where we have to tell Aleph the type of information we have in our list. These are the available options:
- Address
- Airplane
- Assessment
- Asset
- Bank account
- Call for tenders
- Company
- Contract
- Court case
- Cryptocurrency wallet
- Customs declaration
- Event
- Identification
- Legal entity
- License
- Note
- Organization
- Passport
- Person
- Post
- Project
- Public body
- Real estate
- Sanction
- Security
- Tax roll
- Trip
- Vehicle
- Vessel
Since the example contains a list of persons, we must select Person. If we have a list of companies, choose Company instead.
In case you have sheets that mix people and companies (and you have no way to distinguish between them), you can use the “Legal Entity” type.
-
When adding the object, in this case Person, the following box appears:
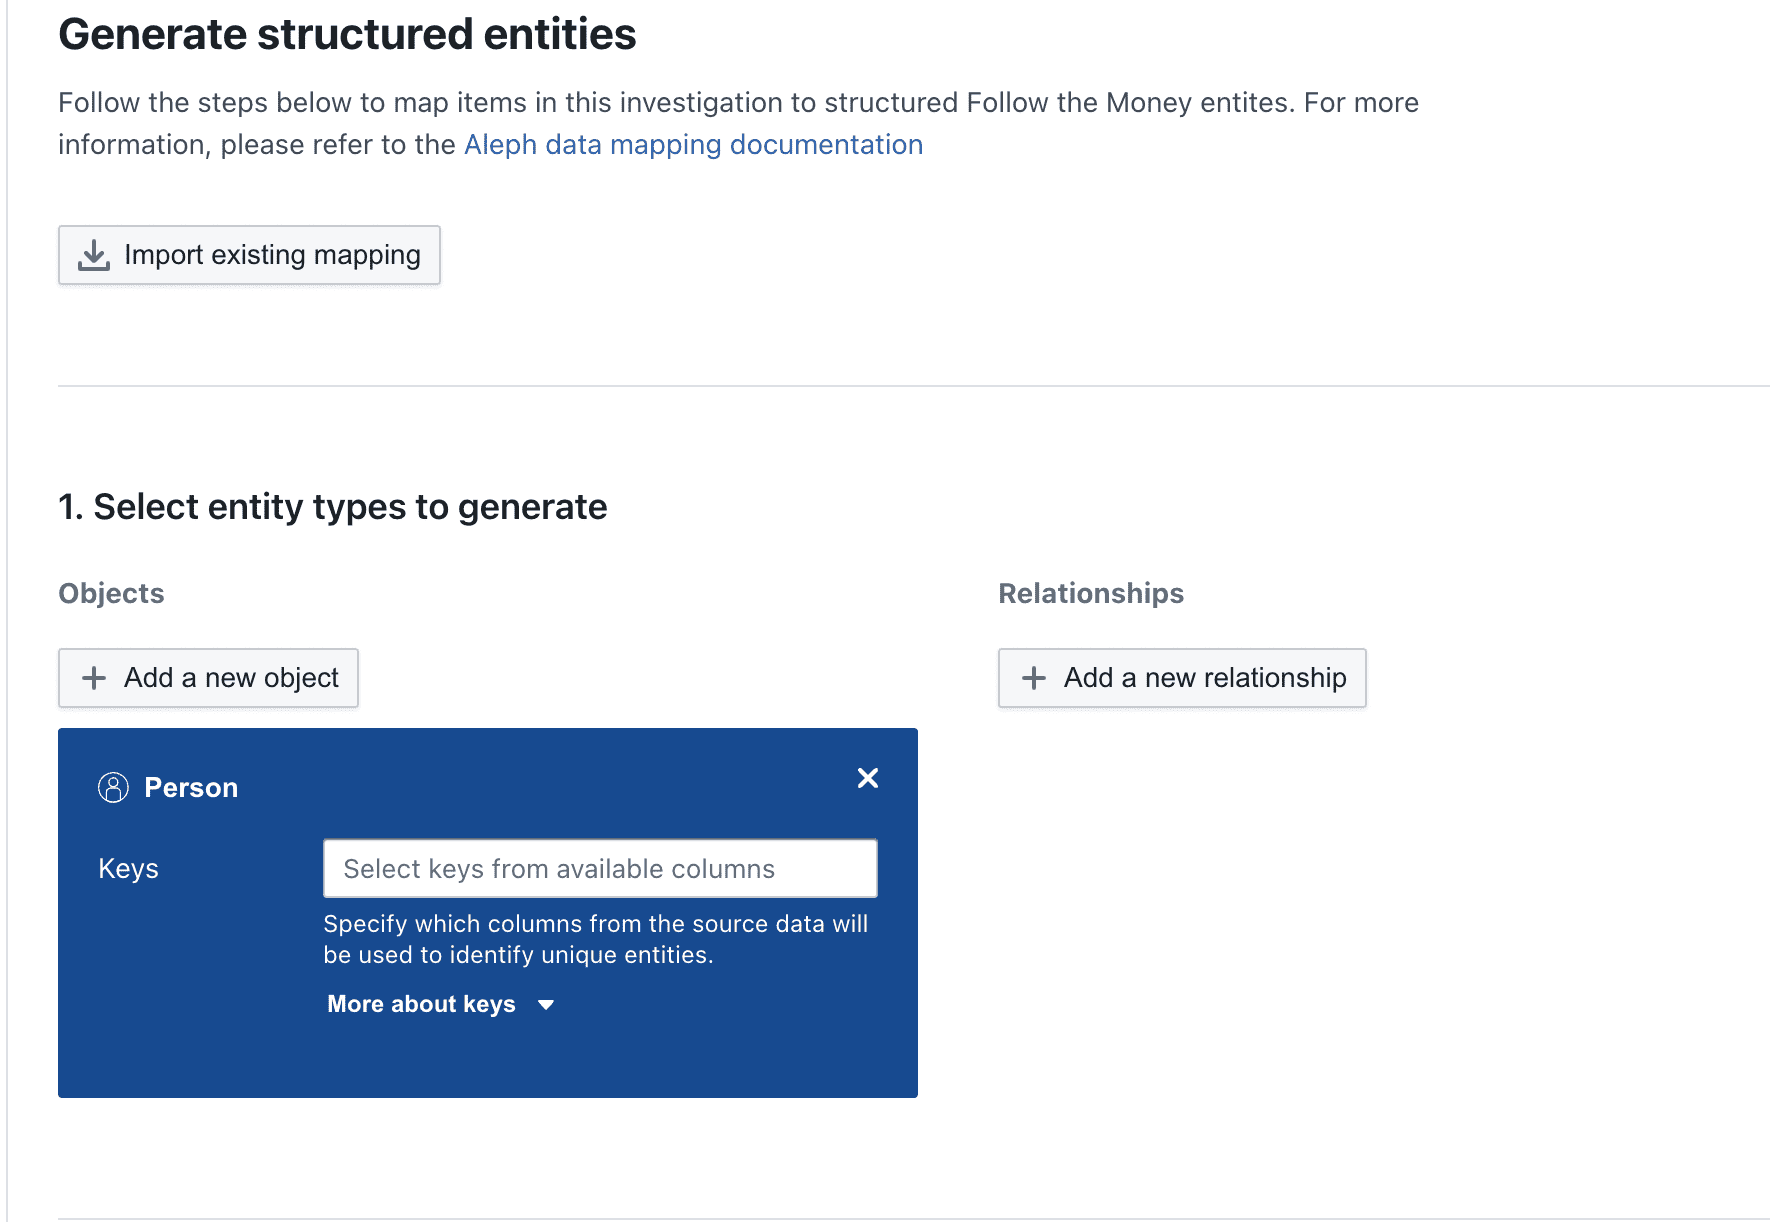
Now Aleph asks you to indicate which columns in our file have information relating to individuals. As we may not remember the names of the columns, we can scroll down and consult the information in our file before completing this section:
Another option is to click inside the Keys box, where it says Select keys from available columns:
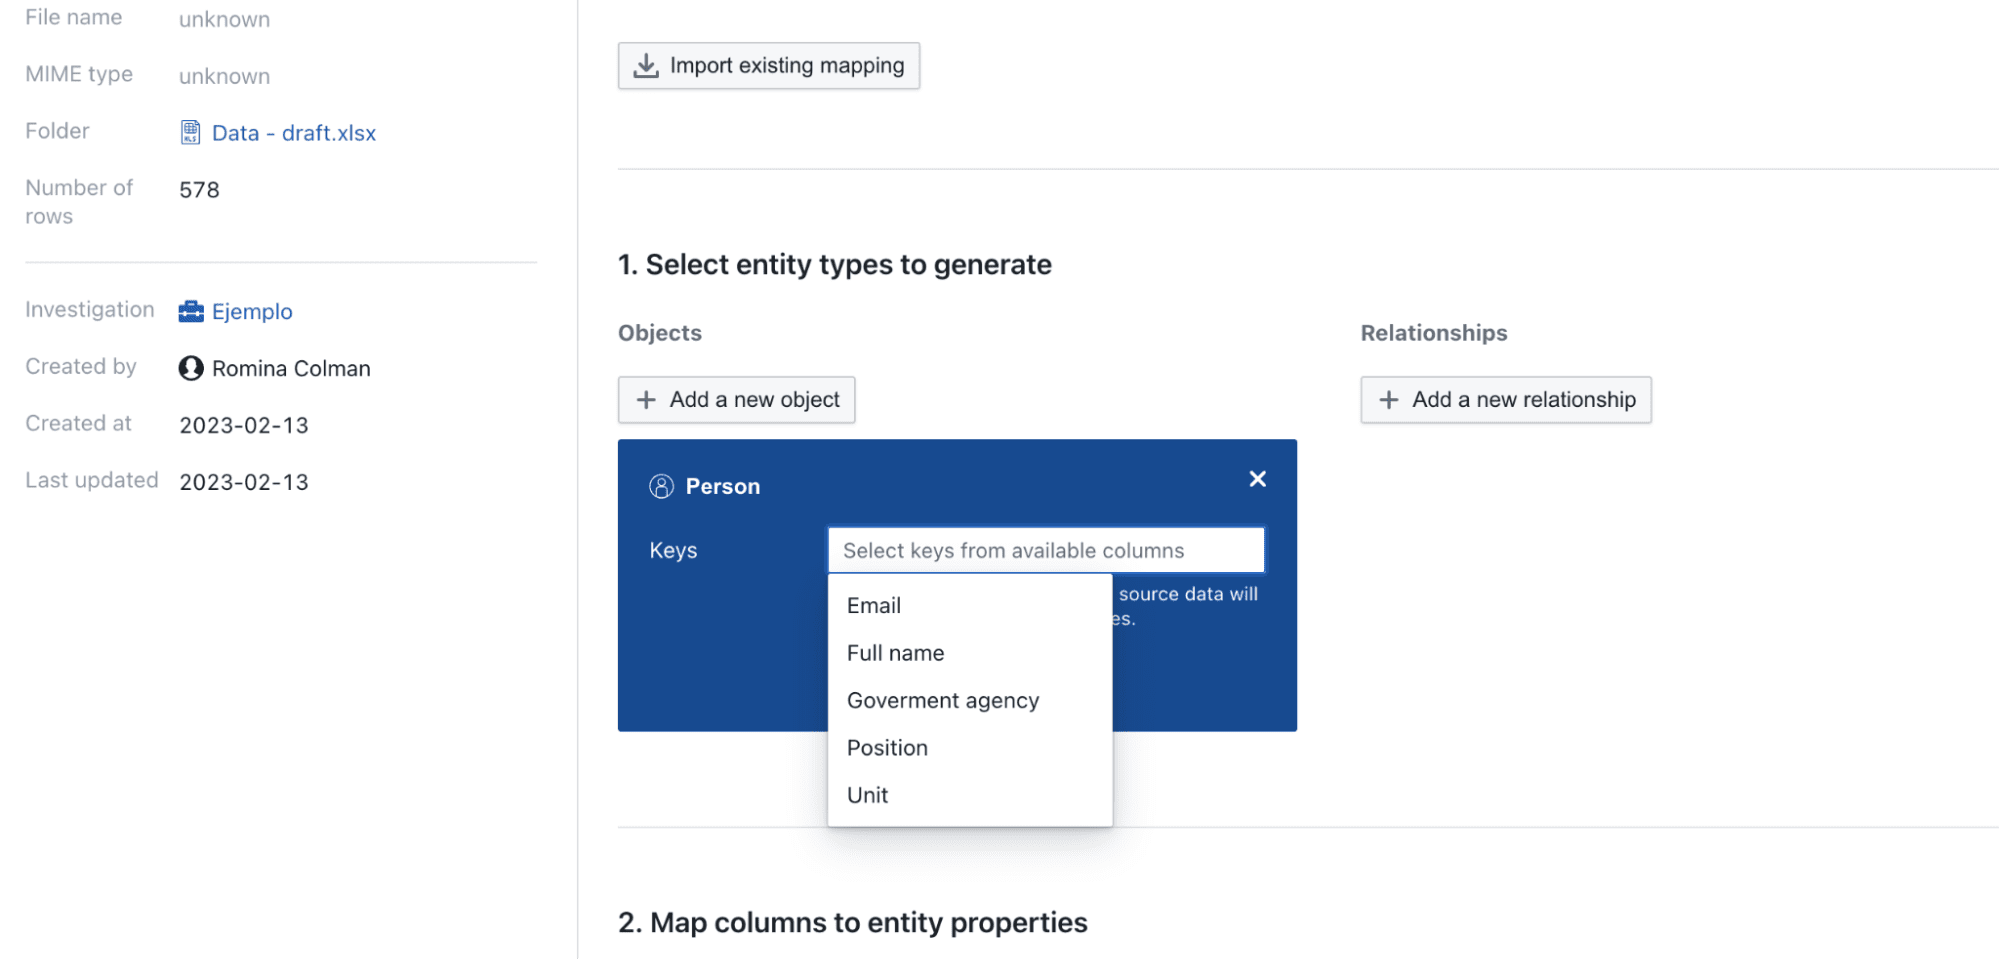
Keys are features that make an entity (person, company etc) unique amongst others, and which help us distinguish entities one from another.
For this example, we select Full name and Email. Why didn’t we choose the other columns? Because the best keys are columns that contain ID numbers, phone numbers, e-mail addresses or other information that allows us to uniquely identify an entity.
-
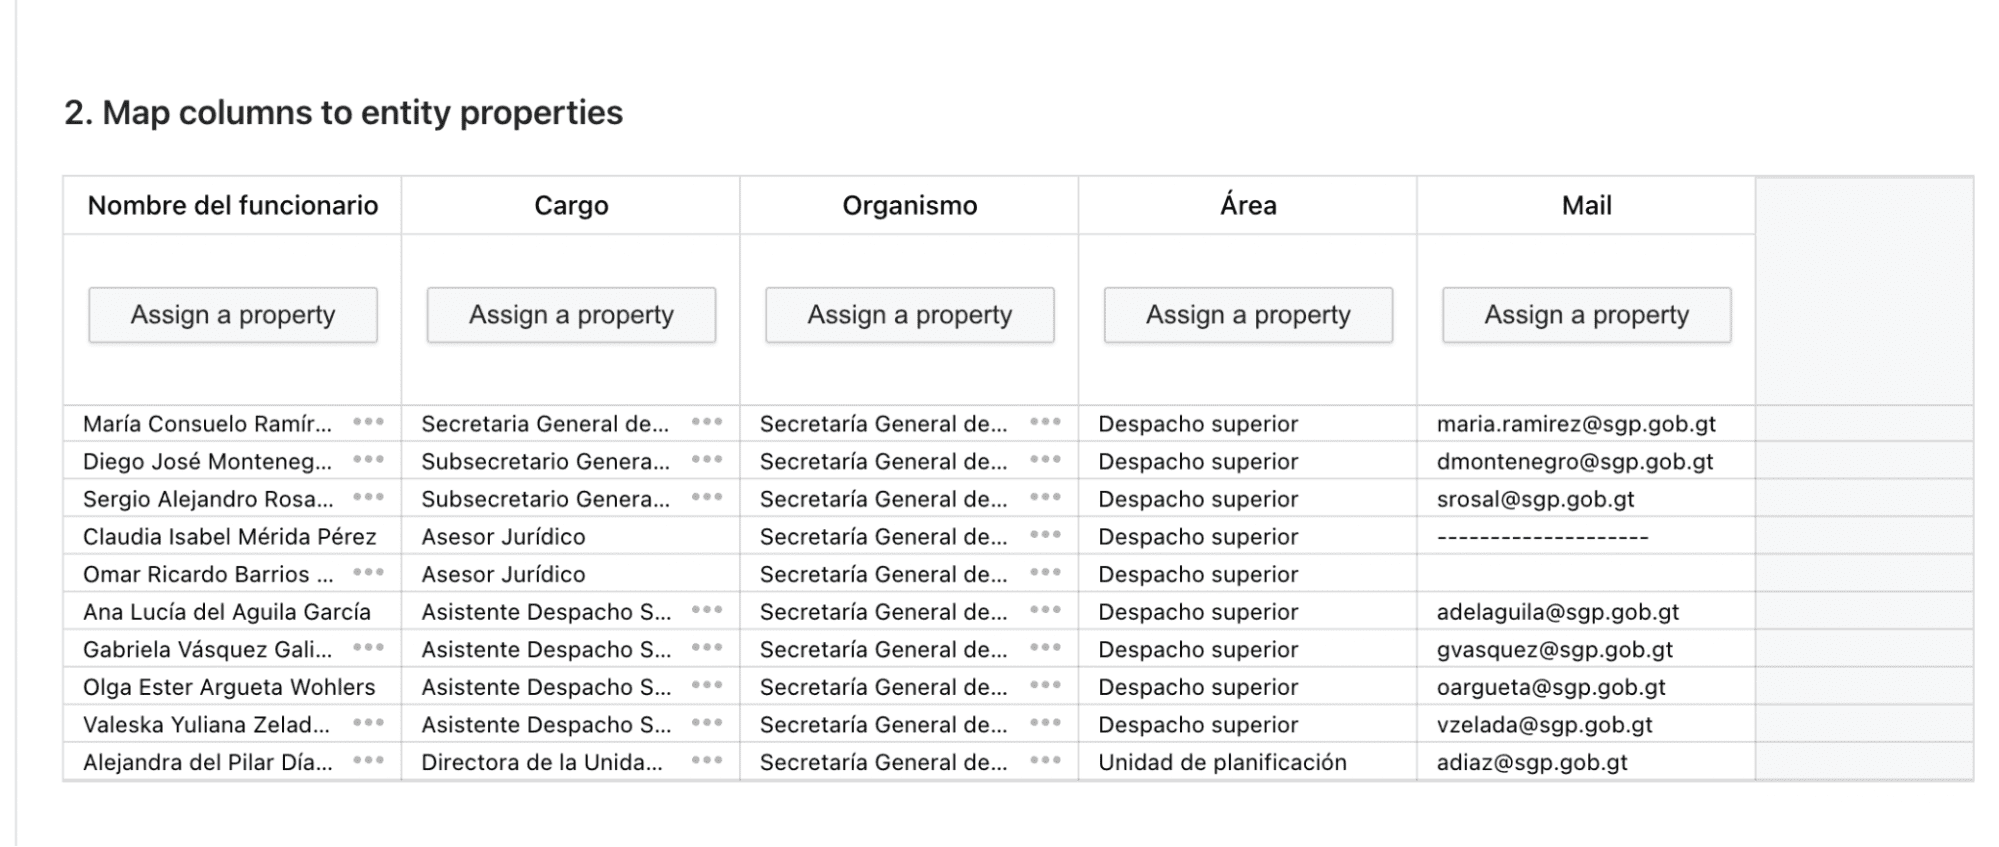
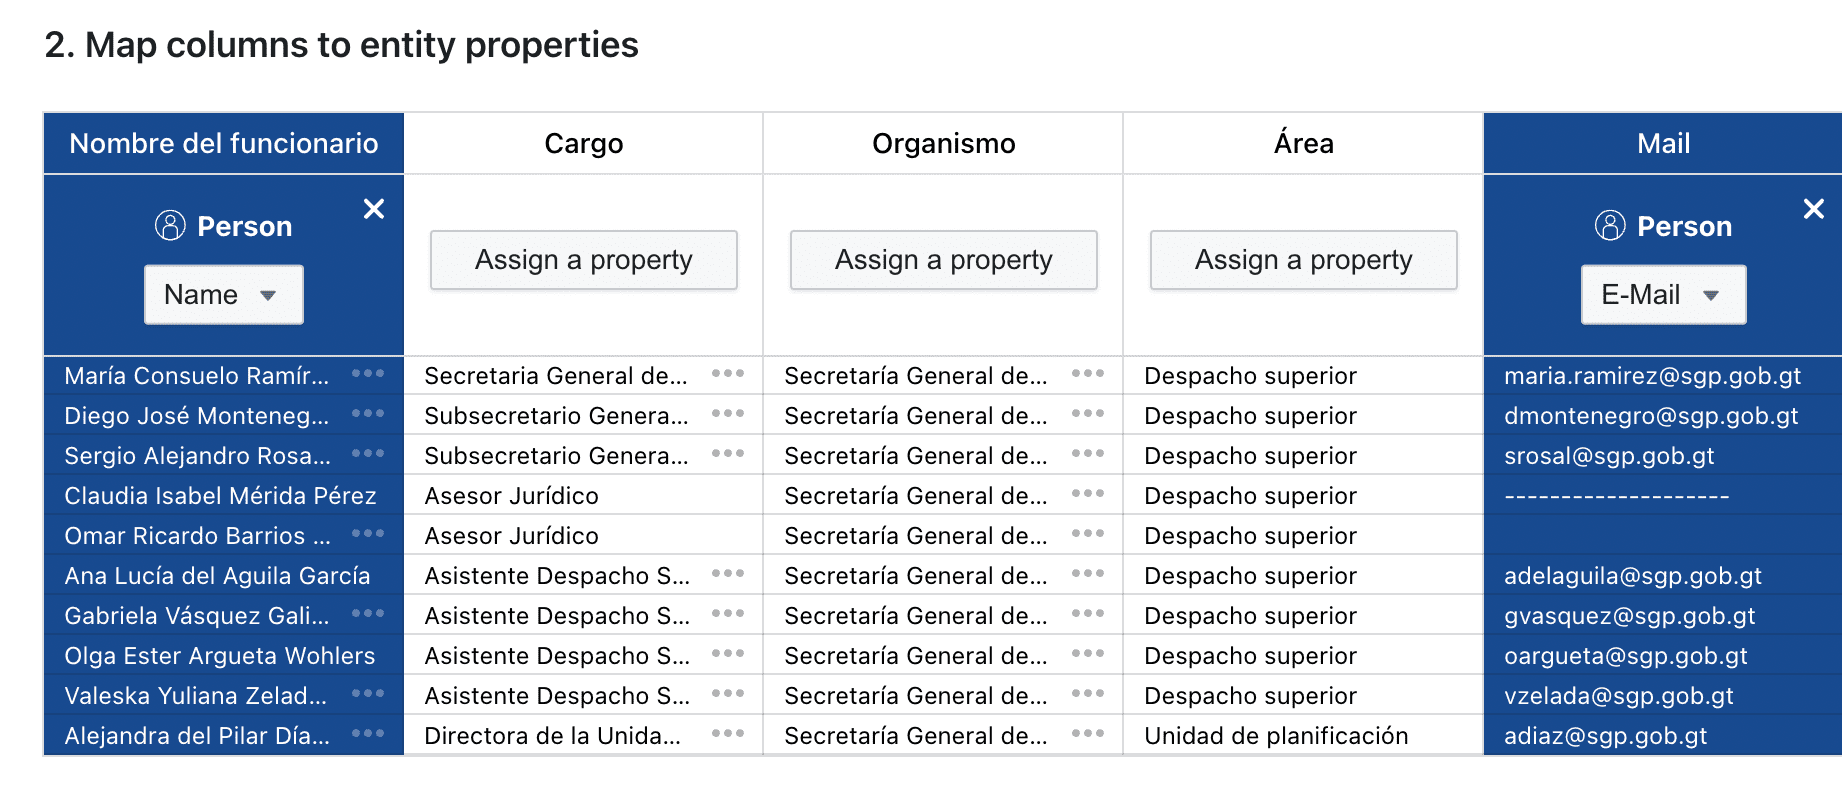
Next, we need to go to the preview of our table (below the box we just filled in) and specify the properties of the columns we will use for our x-ref. How do we do this? Under the column name, click on Assign a property.
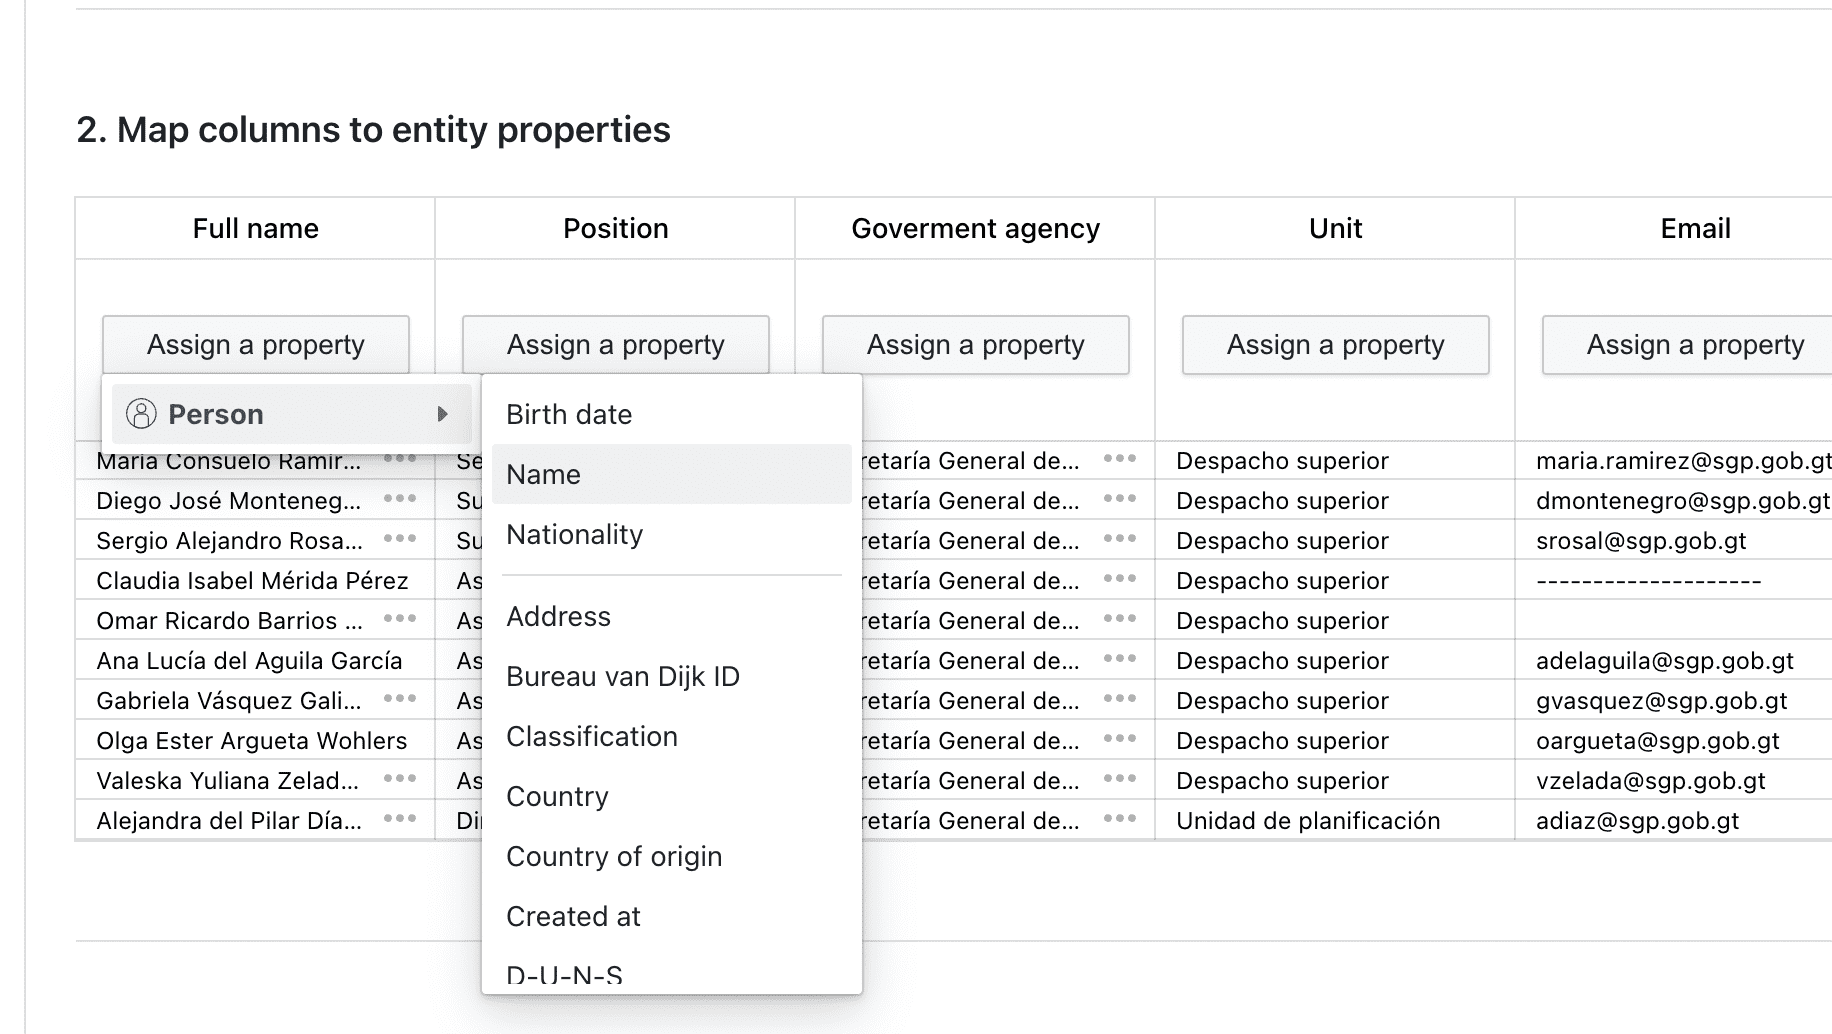
In our case, the column Full name refers to Person.
-
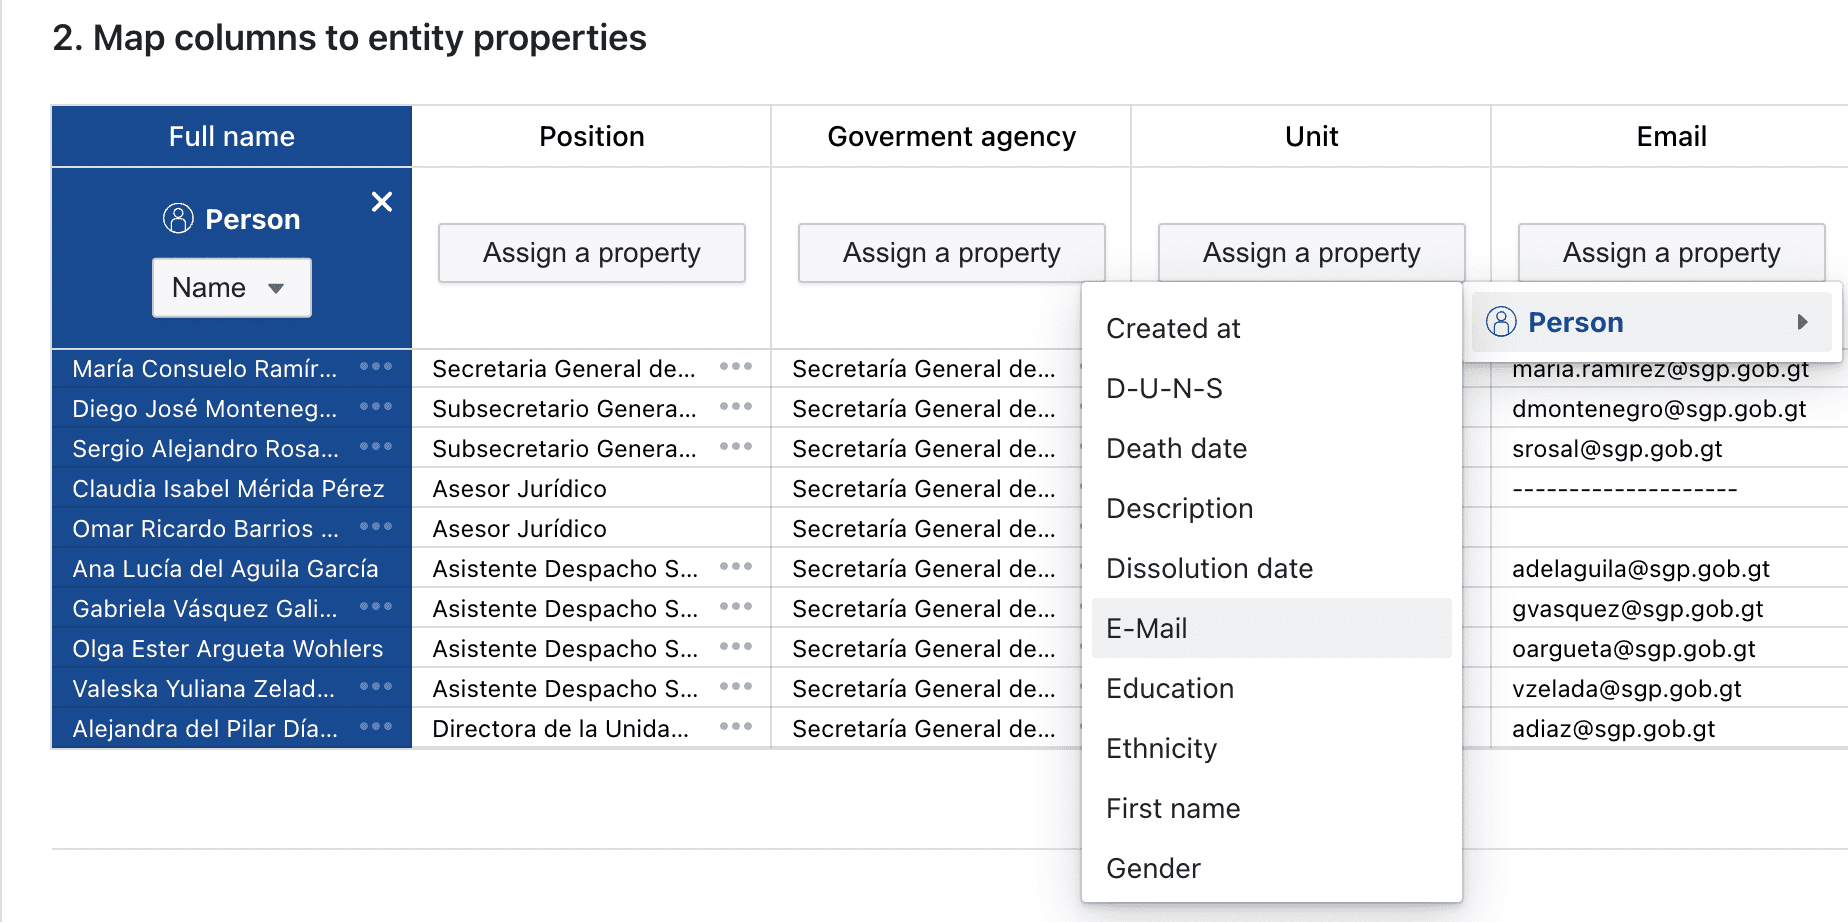
For the E-mail column, we choose Person as the property and then E-Mail. The list of options is extensive, so don’t forget to scroll down to see all the enabled categories:
-
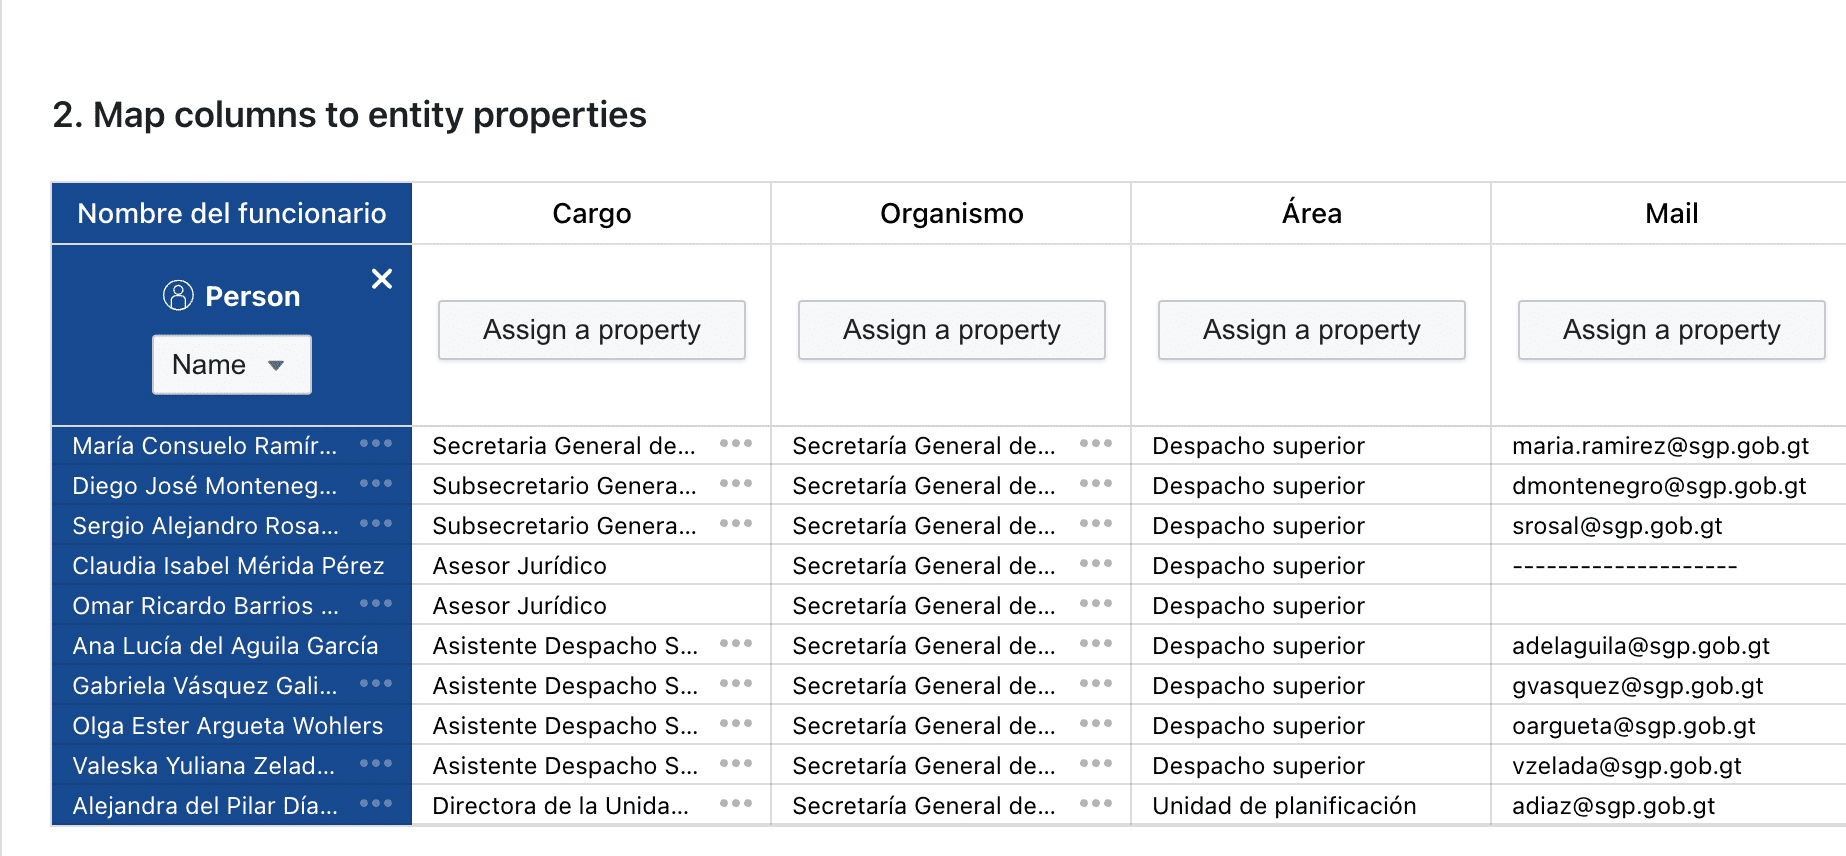
Our table will now look like this:
-
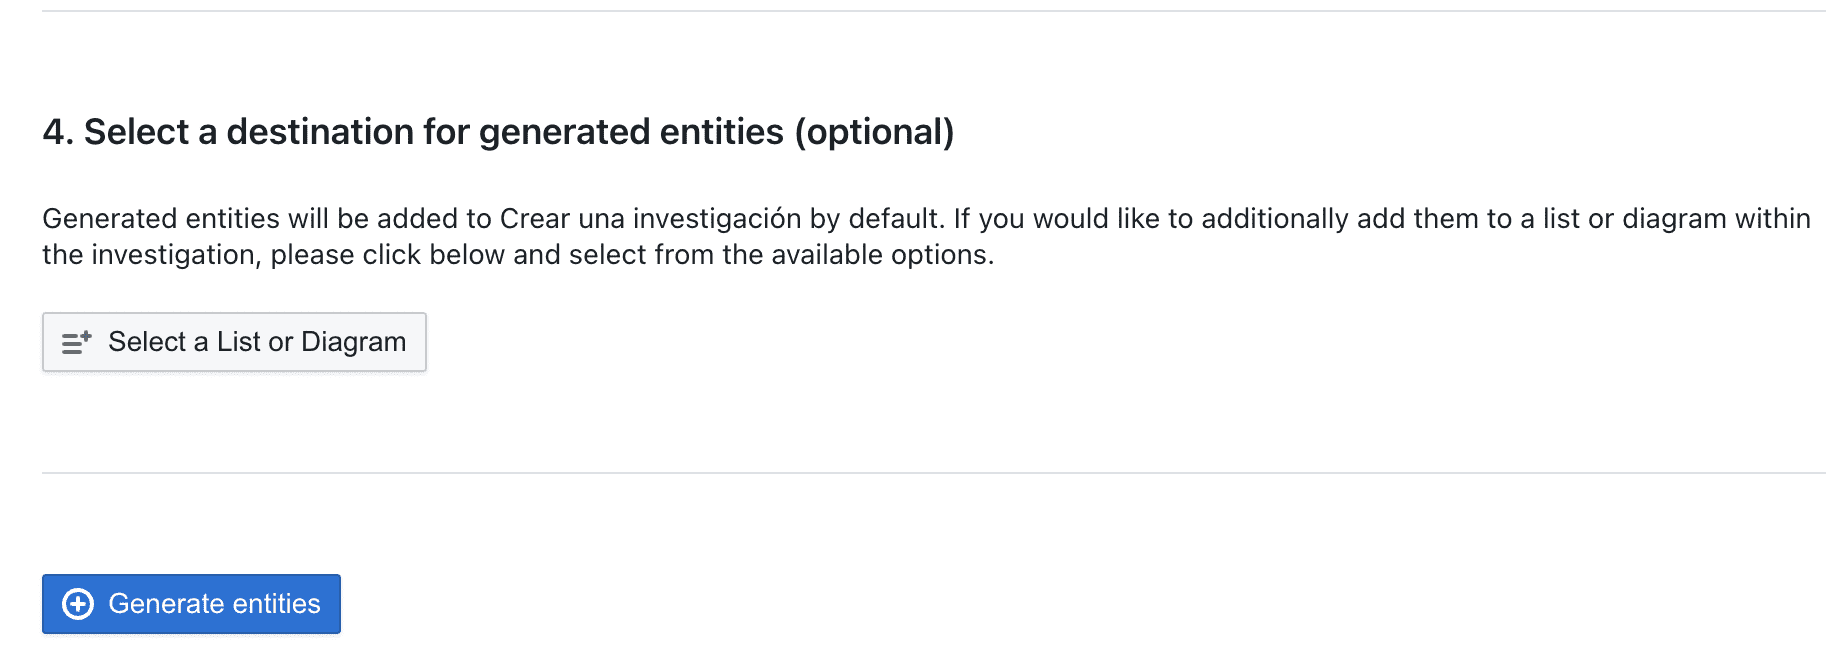
Finally, scroll to the bottom of the page and click on Generate entities:
-
How do we know that everything went ok? Go to the top of the page and you will see the following message:
Cross-referencing
Now that we have uploaded our list and adapted it to the Aleph model, you can finally cross-reference your data against other datasets!
-
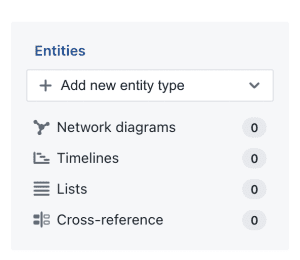
Click on the name of our investigation at the top of the screen and go to Cross-reference in the left-hand menu:
-
You will see this screen:

Click on Compute and the data will start to be cross-referenced. Depending on the size of our list, this process may take more than a few minutes.
-
Once the cross-reference process finishes, we suggest waiting 2-3 minutes after the process is over so all matches are visible. Refresh your page to see all matches.