Creating your investigation workspace
This page explains how your can create your own investigation workspace and (optionally) share it with colleagues and other collaborators.
-
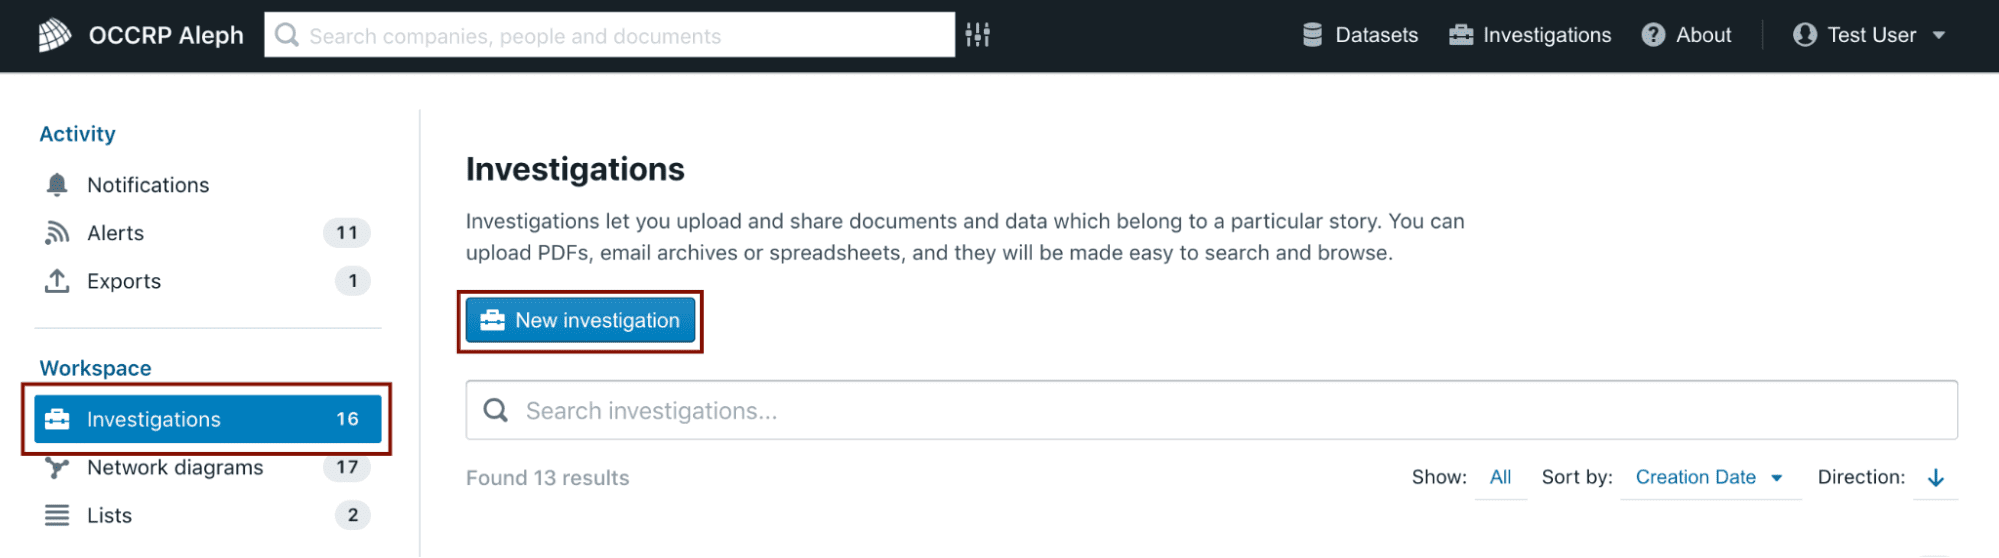
There are two ways to create your own investigation workspace in Aleph. You can either click on the Investigations button in the top menu bar:

Or you can use the Investigations button located on the left sidebar of the homepage.
-
Once you click on New Investigation, the following window will pop-up:

-
Please fill in the required fields. That is, assign a name to the project or research, add a description and specify the languages of the documents in the Languages field. Specifying a language helps Aleph extract text from uploaded documents with higher accuracy, especially if the documents contain text in non-Latin characters.
When you create an investigation workspace, its contents are by default accessible to you and no one else. However, In the Share with field you can enter the Aleph user e-mails of the colleagues you want to share the investigation with.
-
Click Save.
-
After that, you will be redirected to your new investigation workspace:
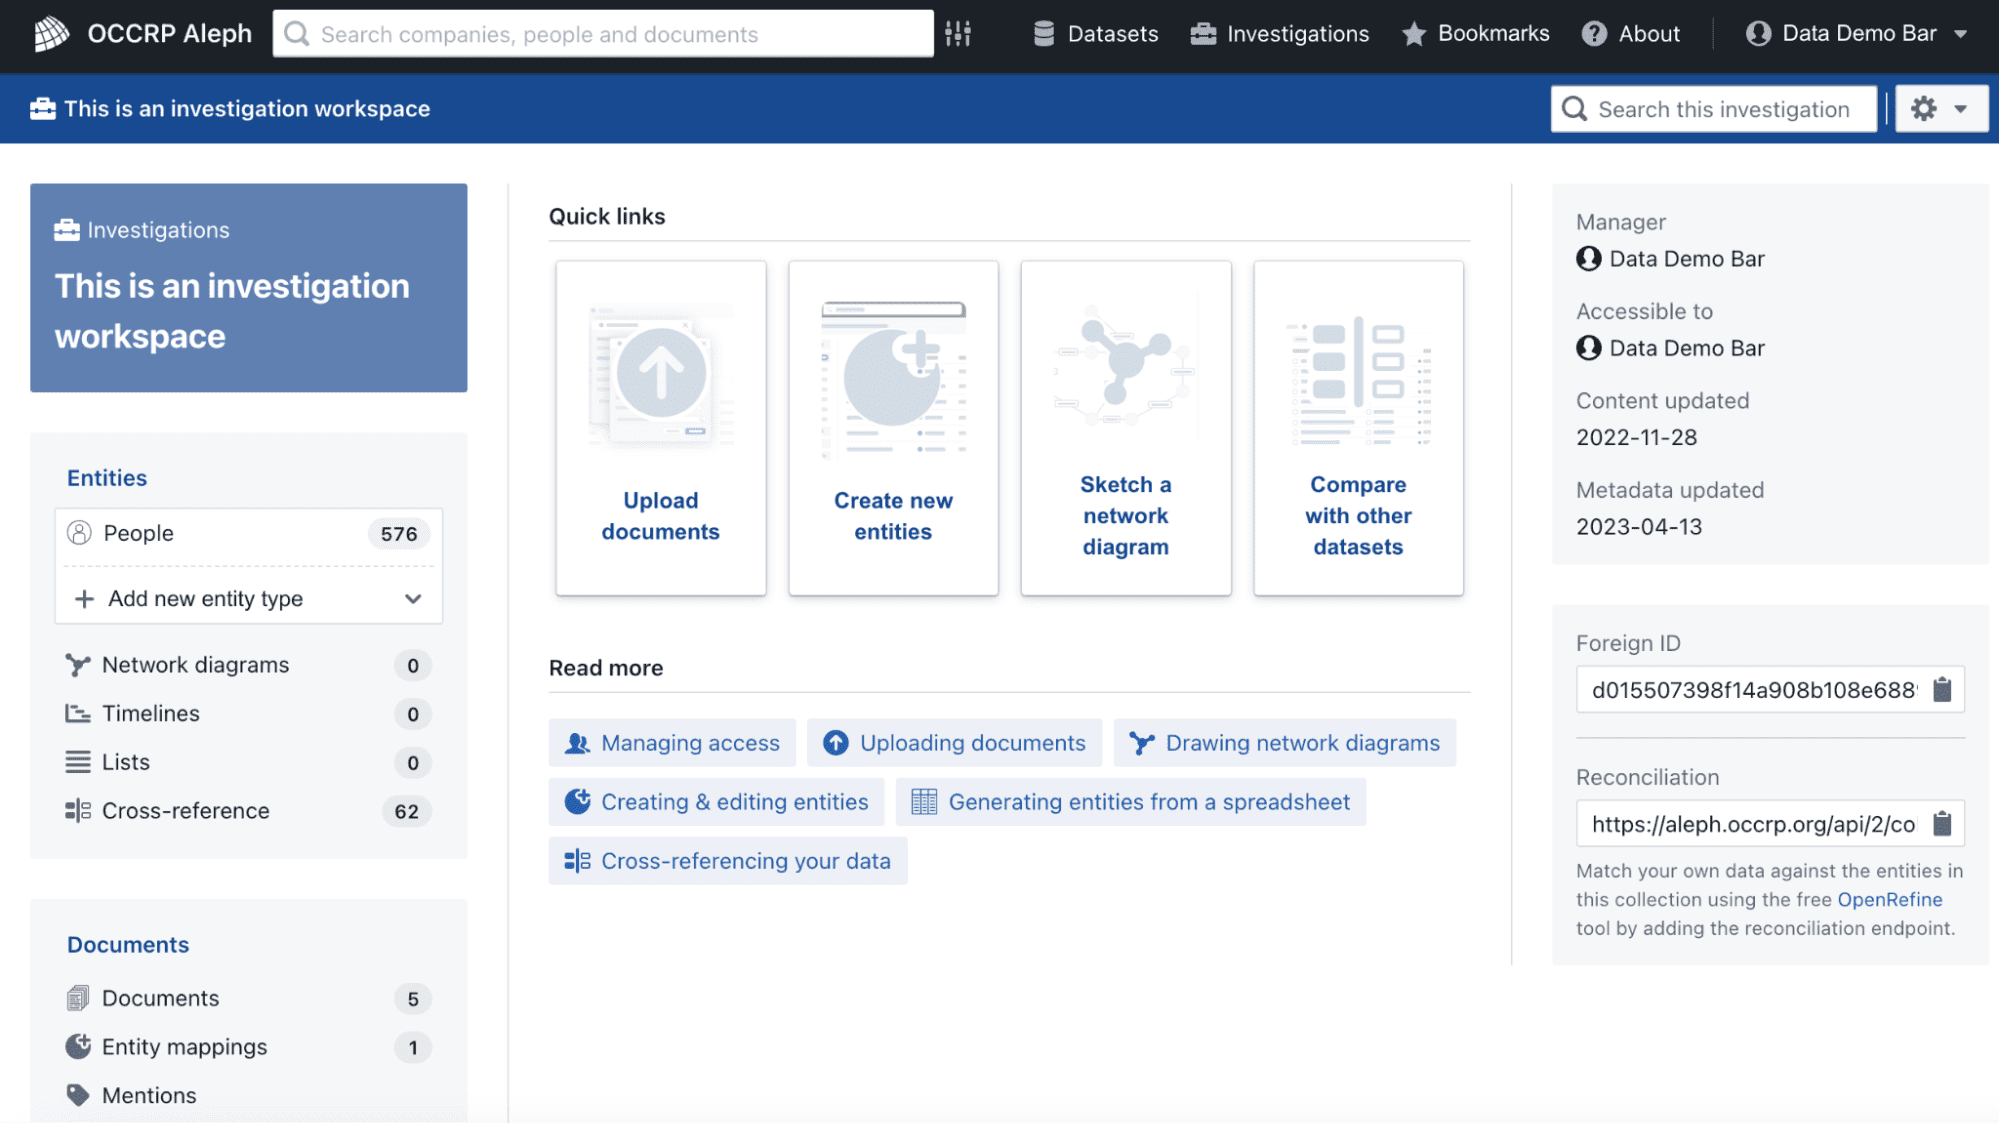
The options in the center of the screen tell us what we can do in our own investigation workspace:
- Upload documents
- Create new entities (names of people or companies that we want to cross-reference against Aleph datasets to find matches)
- Create network diagrams
- Compare our lists against the datasets to which our profile has access