Installing Aleph
Below you will find the installation steps on how to install Aleph.
Prerequisites
Aleph requires multiple services to operate. It uses Docker containers to make it easier for development and deployments. Before we continue, you will need to have Docker and docker-compose installed. Please refer to their manual to learn how to set up Docker and docker-compose.
Developer setup
This section describes how to set up Aleph for software development. Developer mode disables many security measures and it not meant to be used for internet-facing uses, Production deployment is needed instead.
What is developer mode?
Developer mode is a docker configuration for Aleph which makes it easy to do software development and debug the tool without having to install its dependencies on your host machine. These are the features of developer mode:
- The code for the backend (api) server and the React frontend will automatically reload to reflect any changes you make in your working copy while the application is running.
- Both backend and frontend will operate in debug mode and give more verbose error messages when a problem occurs.
- The host machine’s file system will be accessible from within Aleph’s docker container at
/host.
Developer mode overrides the configuration file for docker-compose, using docker-compose.dev.yml instead of docker-compose.yml. This is done by wrapping most developer mode commands using make.
Getting started
As a first step, check out the source code of Aleph from GitHub:
# Use the SSH URL if you have commit access:
git clone https://github.com/alephdata/aleph.git
cd aleph/
Once the code is downloaded, find the file called aleph.env.tmpl in the base directory. This is a template of the configuration file. Make a copy of this file named aleph.env and define settings for your local instance. Check the configuration section for more information regarding the available options.
Also, please execute the following command to allow ElasticSearch to map its memory:
When running Docker on macOS, Docker uses a virtual machine as the container host. Therefore, you need to run the command inside of the Docker virtual machine. In order to log in to the virtual machine, execute docker run -it --rm --privileged --pid=host justincormack/nsenter1.
sysctl -w vm.max_map_count=262144With the settings in place, you can use make all to set everything up and launch the web service. This is equivalent to the following steps:
make buildto build the docker images for the application and relevant services. You can runmake docker-pullbefore to pull pre-build release images.make upgradeto run the latest database migrations and create/update the search index.make webto run the web-based API server and the user interface.- In a separate shell, run
make workerto start a worker. If you do not start a worker, background jobs (for example ingesting new documents) won’t be processed.
Open http://localhost:8080/ in your browser to visit the web frontend.
If any of the above steps fail, refer to the troubleshooting section for some common stumbling blocks and their fixes.
Working in a shell
During development, you will need to run command-line operations for certain tasks. In order to do so, you will first need to enter the docker container of Aleph. To do so, run:
make shell
# This will result in a root shell inside the container:
aleph --help
This will enter a docker container where the aleph shell command is available (see Usage for details). You can also access the host computers file system at /host. This means a file stored at /tmp/bla.txt on your computer can be found at /host/tmp/bla.txt inside the container.
When you run Aleph in development mode, the default configuration will not run the worker component used to index documents and do other background work. You can start it either via make worker or inside an Aleph shell using aleph worker.
Users
For development purposes, you can quickly create a new user with the aleph createuser command, inside a shell:
aleph createuser --name="Alice" \
                 --admin \
                 --password=123abc \
                 user@example.com
If you pass an email address in the ALEPH_ADMINS environment variable (in your configuration) it will automatically be made into an admin.
After running createuser, the newly created user’s API key is printed, which you can use in the Authorization HTTP header of requests to the API. If you pass a password, you can use this email address and password to log into the web interface.
You can also run Aleph in single-user mode by setting ALEPH_SINGLE_USER to true. When you run Aleph in single-user mode, authentication is disabled and every user is automatically logged in as an admin user.
Loading Sample Data
If you want to quickly get some sample data in your Aleph instance you can use crawldir to index a small test data folder.
aleph crawldir /aleph/contrib/testdataMake sure that a worker is running, otherwise your data won’t be processed. Run make worker to start a worker in your development environment. If you can’t see your sample data, make sure that you’re signed in, as your data won’t be public by default. See Users for instructions on how to create new user accounts.
To also get a sample of (non-document) entity data, consider loading sanctions lists.
Running Tests
To run the tests, assuming you already have the docker-compose up and ready, run:
make test
make ingest-test
This will create a new database and run all the tests.
Debugging
If you’re looking to debug changes that you’ve made to Alephs python then there are a couple of options. By default, Aleph ships with the vscode python debugger (debugpy) enabled for the API and worker services when in dev mode. This makes it easy to create a launch.json file and attach a debugger to a running instance of the software.
The API is exposed via the standard 5678 port whereas the worker service is exposed via 5679.
Additionally you may wish to configure the debugger to wait for a client to attach. If this is the case you’ll need to edit the docker-compose.dev.yml file adding the following as the command for the API:
command: python3 -m debugpy --listen 0.0.0.0:5678 --wait-for-client -m flask run -h 0.0.0.0 -p 5000 --with-threads --reload --debuggerOr in the case of the worker, from the Makefile:
worker: services
    $(COMPOSE) run -p 127.0.0.1:5679:5679 --rm app python3 -m debugpy --listen 0.0.0.0:5679 --wait-for-client /usr/local/bin/aleph worker
If you’d prefer to use the pdb debugger then the first step is to add the following to the api section of the docker-compose.dev.yml:
stdin_open: true
tty: true
Once this is done, restart your docker containers and set a breakpoint() in your code. Now, running docker attach aleph_api_1 should provide you the ability to view that breakpoint and make use of pdb’s other features.
Building from a clean state
You can also build the Aleph images locally. This could be useful while working on the Dockerfile changes and new dependency upgrades.
To build the image you can run make build, which will build the alephdata/aleph image (this will generate a production ready image).
Inspecting ElasticSearch
At times it can be useful to inspect the contents of the ElasticSearch indices. There are several ElasticSearch GUIs out there that you can use to query ElasticSearch. You could for example use Dejavu:
docker run -p 1358:1358 -d appbaseio/dejavu
open http://localhost:1358/
Then you can connect Dejavu to the ElasticSearch container that has been exposed on http://localhost:9200.
You can also approach ElasticSearch from the command line.
Inspecting the PostgreSQL database
If you want to inspect or manipulate the SQL database directly (e.g. to edit a user, create or delete a group), you can connect to the PostgreSQL database.
In development mode, the database is exposed on the host at 127.0.0.1:5432. (User, password and database name are all aleph). You can also connect from the shell container:
make shell
psql $ALEPH_DATABASE_URI
The same can be done if you run an instance of the shell container in production mode.
Production deployment
This section details how to set up Aleph in production mode. If you plan to change the source code or quickly test the software, you may wish to use the Developer setup instead.
Aleph is distributed as a set of Docker containers, which can be run on any server that meets the following criteria:
- 8GB (or more) of RAM. While the software will start with much less, we advise providing ample main memory for ideal performance.
- A working install of Docker and
docker-compose. See the FAQ page for information on not using Docker. - A domain name or IP address which can be used at the root via HTTPS (i.e. Aleph doesn’t support running at a sub-path like
/aleph). You are welcome to contribute fixes for this scenario. - An internet connection to download and install the package.
To begin a production deployment:
- Obtain a copy of Aleph’s docker-compose file and base configurations (named
aleph.env.tmpl). - Make a copy of the configurations file named
aleph.envand define settings for your production instance. Check the section on configuration for more information regarding the available options.
Aleph has support for multiple storage engines, including Amazon Web Services Simple Storage Service, Google storage buckets, and local file storage. Remember to configure this in your instance’s configuration file.
- Set
ALEPH_TAGenvironment variable to specify the version of Aleph you want deploy. IfALEPH_TAGis not set, the stable version specified in the docker compose file is deployed. - Once you are happy with your configuration, execute the following command to allow ElasticSearch to map its memory:
sudo sysctl -w vm.max_map_count=262144- Finally, you can boot the docker-compose environment:
docker-compose up -dThis will run Aleph in detached mode. You can shut down the system at any time by issuing the following command:
docker-compose downBefore Aleph can process any requests or data, you need to make sure it sets up the database and search index correctly by executing an upgrade:
docker-compose run --rm shell aleph upgradeWhile the system is running, it will bind to to port 8080 of its host machine and accept incoming connections. You can check that the system is functional with a curl request:
curl http://localhost:8080/api/2/statisticsIf your servers firewall configuration allows it, you can now also open http://localhost:8080 in your browser and use the web interface to navigate the application.
Be careful with the ports exposed from your Docker system on public ports. Docker is known to override some firewall rules so make sure you double-check that you’re only exposing the intended ports on your productions system.
Upgrading
See the relevant section in the Technical FAQ.
Backing up and restoring data
Aleph stores persistent data in 3 different systems:
- Blob storage: This is where Aleph stores the uploaded files as blobs.
- SQL Database: Aleph has a couple of different use cases for a SQL database.
- A database to store application data like users, sessions, collection metadata etc. This database is the one defined by
ALEPH_DATABASE_URIsetting. - A database to store FtM entities. This database is defined by
FTM_STORE_URI. These two databases can use the same SQL database instance or can use separate instance for each use case.
- A database to store application data like users, sessions, collection metadata etc. This database is the one defined by
- ElasticSearch: ElasticSearch powers Aleph’s search and stores the contents of all processed documents and entities.
To have a functional Aleph instance, we need all 3 of these components to be operational without data loss and have a restoration plan if we any of these components experience data corruption, data loss or any other failure.
For blob storage, Aleph can use cloud storage services like Google Cloud Storage, AWS S3 which provide automatic backups and availability guarantees. In case you’re using the local file system for storage, the docker volume can be mapped to a host directory, and the host directory can be backed up in usual ways. (for example, running rsync in a cron job to copy the directory to a backup server.)
For SQL database, Aleph uses PostgreSQL. PostgreSQL can be backed up and restored through pg_dump, pg_restore and similar utilities.
For example, here’s how you can dump the database:
docker-compose exec postgres pg_dumpall -c -U postgres > dump_`date +%Y-%m-%d"_"%H:%M:%S`.sqland then restore from the dump:
cat dump_2021-11-03_18:03:54.sql | docker-compose exec -T postgres psql -U aleph -d alephThe commands will be slightly different depending on your specific set up. If you’re running a separate database instance for FtM-Store, you should backup both the Aleph application database and the FtM-Store database. The data dump creation command should be put in a cron job to automate snapshot creation and those snapshots should be copied to a separate backup server.
The ElasticSearch index can be regenerated from the FtM-Store database. So, the backup of that database can serve as the backup of your ElasticsSearch index too.
Note: This works only for Aleph versions greater than 3.8.0.
Here’s how you can recreate the ElasticSearch index from the FtM-Store database:
- Run
docker-compose run --rm shell aleph upgradeto recreate the indices in Elasticsearch - Once that finishes running, run
docker-compose run --rm shell aleph reindex-fullto write data into Elasticsearch indices from the FtM-Store PostgreSQL database.This will take some time to run depending on how much data you have.
Configuration
The main configuration file of Aleph is aleph.env, which is loaded by docker-compose and can modify many aspects of system behaviour. A template for the configuration with details regarding many of the options is available in the aleph.env.tmpl file.
Configuration options
- You will need to provide a value for the
ALEPH_SECRET_KEY. A good example of a value is the output ofopenssl rand -hex 24. - Aleph needs to know the URL under which the web interface is mounted. Make sure to set the correct public
ALEPH_UI_URL.
Pages configuration
Some instance-specific information, e.g. ‘About’ page, is configured with pages mechanism. You can find default examples in aleph/pages directory.
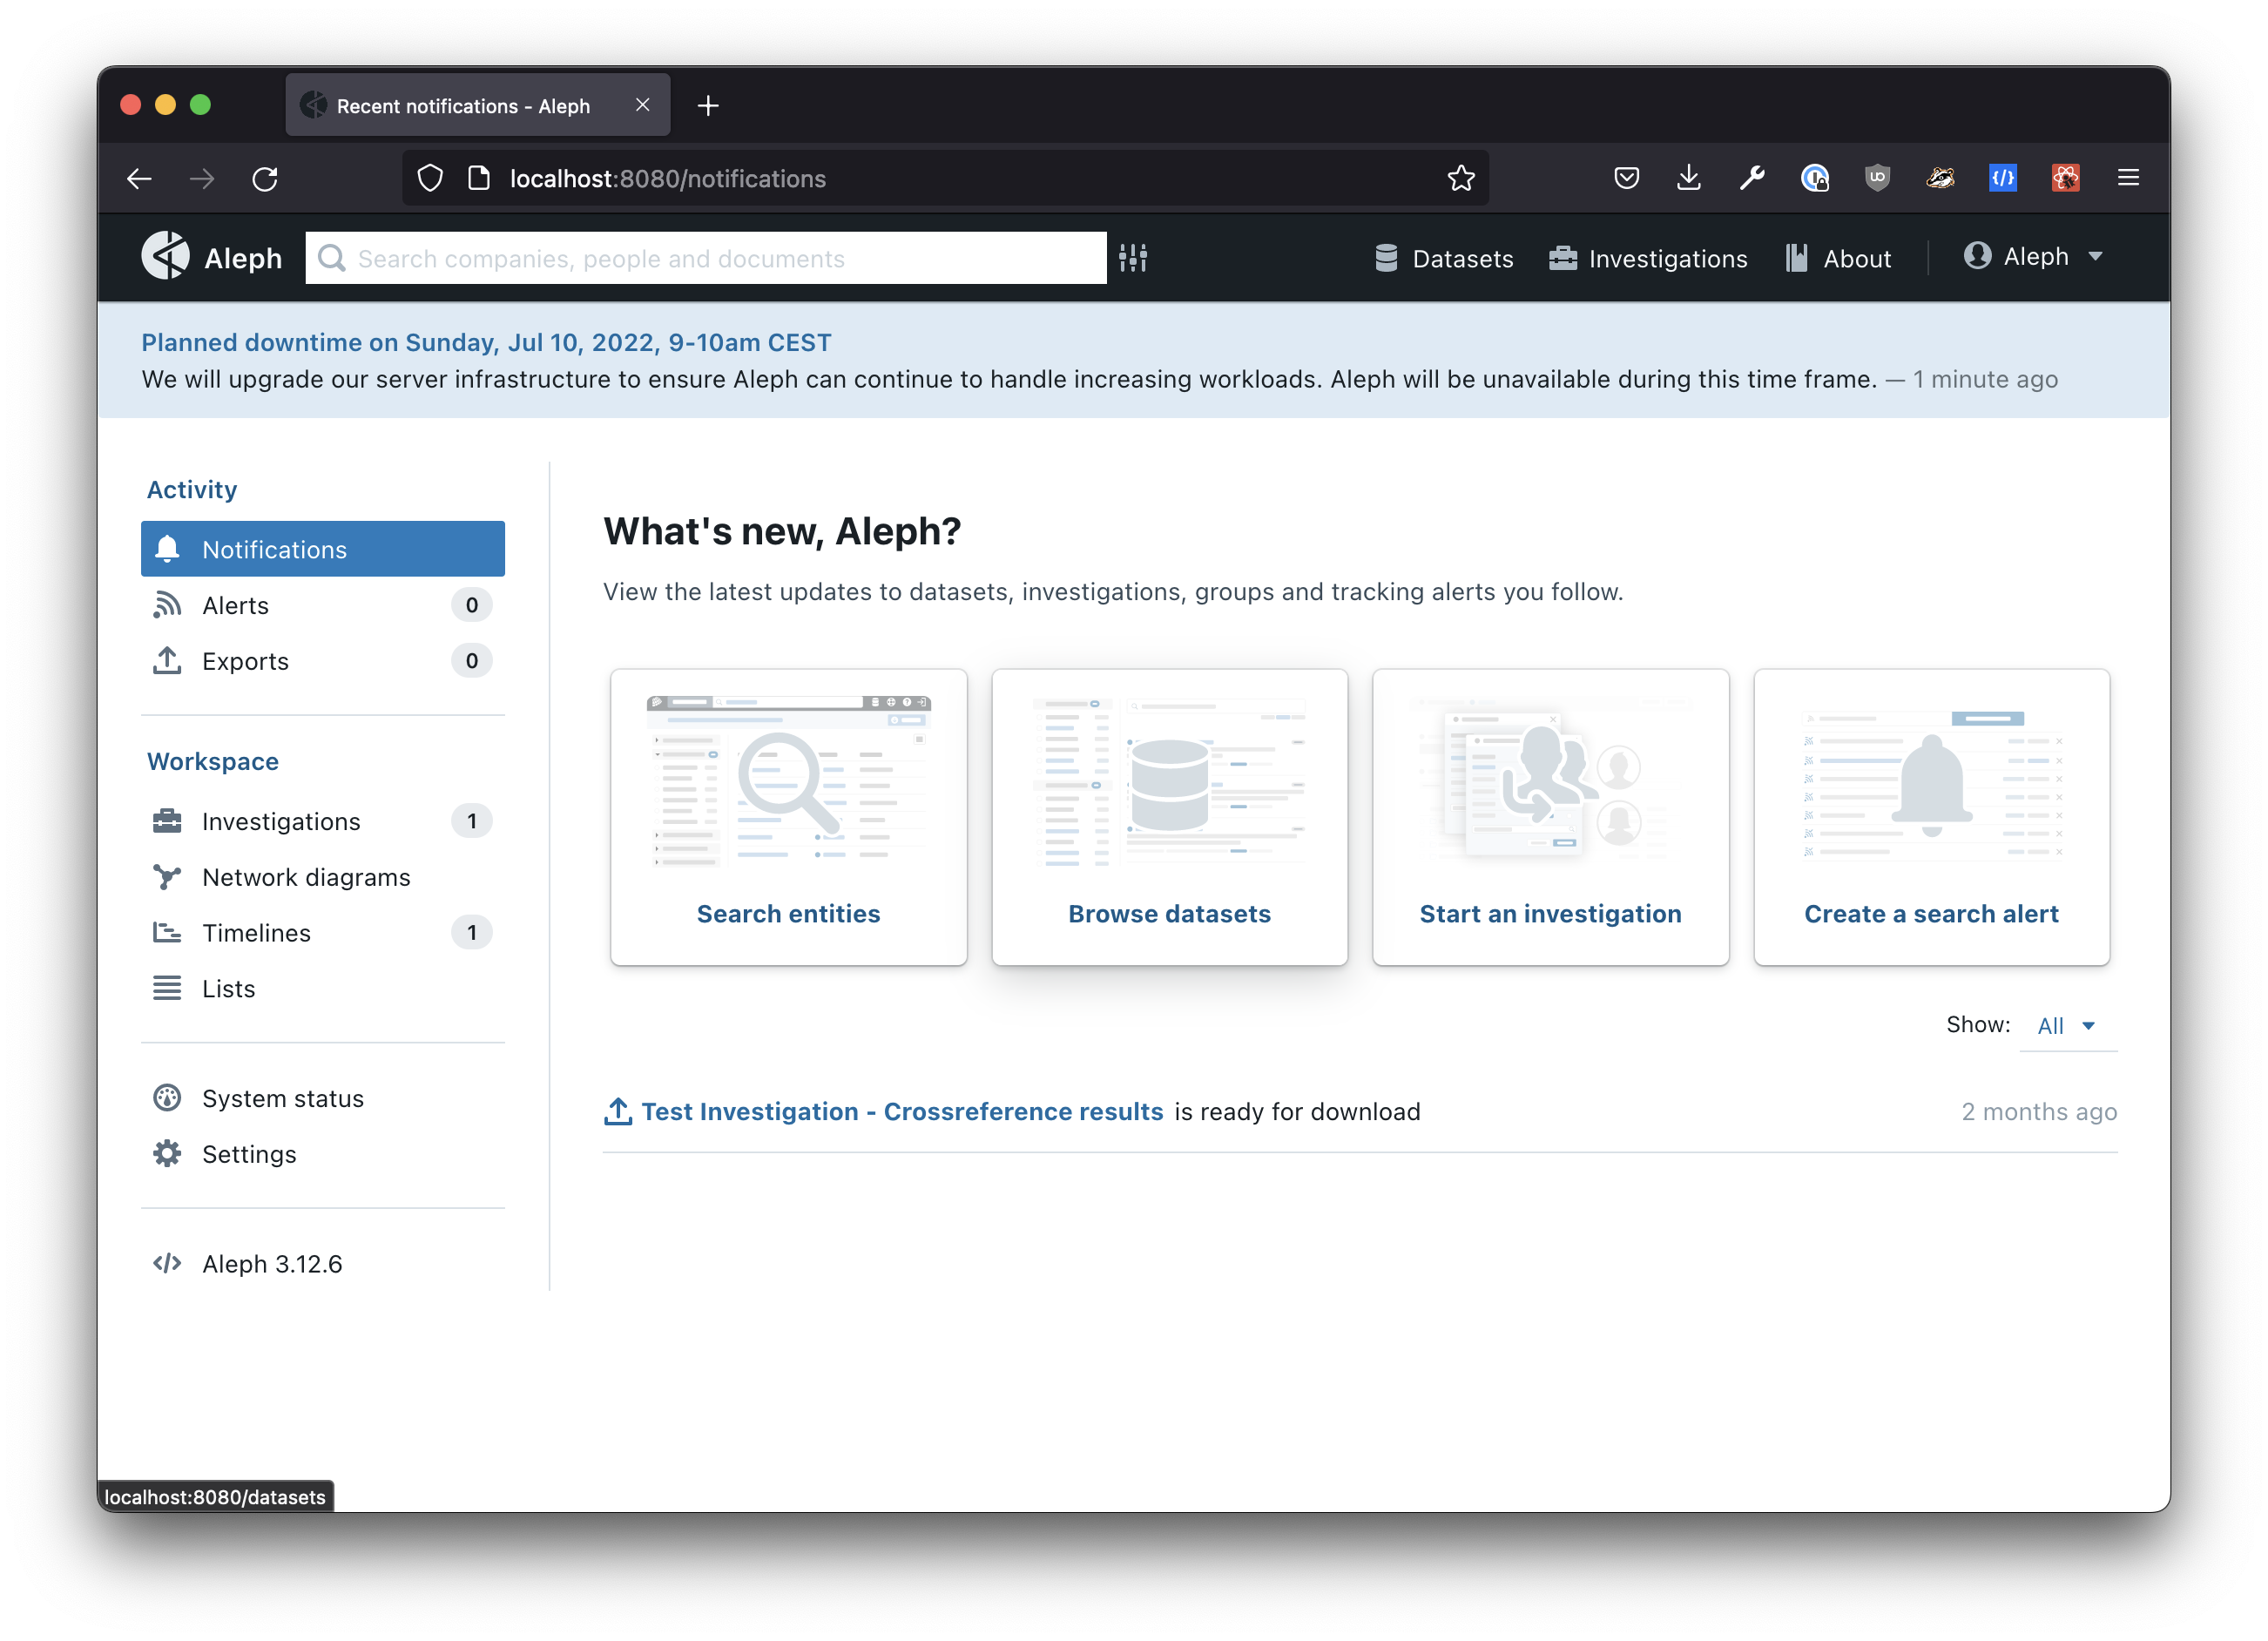
App-wide message banner
You can enable an app-wide message banner displayed at the top of every page for anonymous and authenticated users. This can be useful if you want to inform Aleph about scheduled maintenance, degraded performance, or newly available datasets.
There are two ways to configure the contents of the message banner.
Define a static message
The easiest way to enable the message banner is to set the ALEPH_APP_BANNER environment variable. For example, the following configuration will display the message “Planned downtime this Sunday”:
ALEPH_APP_BANNER="Planned downtime this Sunday"Configure a JSON endpoint to load messages dynamically
Alternatively, you can also configure a JSON endpoint. Aleph will then load messages from that endpoint. Configuring a JSON endpoint allows you to update messages without changing the configuration or restarting your Aleph instance.
As long as the JSON data conforms to the simple schema described below, you can use any method that fits your requirements to generate it. You could manually create a JSON file and upload it to a web server or generate it automatically based on a monitoring tool you use.
We have also created a custom GitHub Action that creates such JSON data based on GitHub Issues and deploys it for free to GitHub Pages. Head over to the repository on GitHub to learn how to set it up for yourself.
In order to enable loading messages via a JSON endpoint, set the value of the ALEPH_APP_MESSAGES_URL environment variable:
ALEPH_APP_MESSAGES_URL="https://example.org/messages.json"The JSON response returned by the endpoint should conform to the following schema:
[
  {
    "id": "1",
    "createdAt": "2022-07-01T08:30:00.000Z",
    "updatedAt": "2022-07-01T08:30:00.000Z",
    "displayUntil": "2022-07-10T10:00.000Z",
    "level": "info",
    "title": "Scheduled maintenance on Jul 10, 2022, 8–10am UTC",
    "safeHtmlBody": "We will upgrade Aleph’s server infrastructure. Aleph will be unavailable during this time frame."
  }
]levelcan be one ofinfo,warning,error,success. The message banner is color coded based on the level.- If you set
displayUntilto a valid date, the message banner will only be displayed until that date. - You can include multiple messages in the list. However, only the first message with an empty or a future
displayUntildate will be displayed.
OAuth Credentials
Using OAuth for login is optional. Skip this section (and leave the config commented out) if you don’t want to use it.
Aleph supports a couple of OAuth providers out of the box: Google, Facebook and Microsoft Azure.
Using Google OAuth
To get the OAuth credentials please visit the Google Developers Console. There you will need to create an API key. In the Authorised redirect URIs section, use this URL:
http://localhost:8080/api/2/sessions/callback/googleSave the client ID and the client secret as ALEPH_OAUTH_* values.
Using Microsoft Azure
Create a new app over at https://apps.dev.microsoft.com, make a note of the KEY and secret you generate there. Callback URL should be as follows: https:///api/2/sessions/callback . Then add the following to aleph.env, remember to update KEY and SECRET with your values.
ALEPH_OAUTH=true
ALEPH_OAUTH_KEY=***************************
ALEPH_OAUTH_SECRET=***************************
ALEPH_OAUTH_NAME=Azure
ALEPH_OAUTH_BASE_URL=https://login.microsoftonline.com/organizations/oauth2/v2.0/
ALEPH_OAUTH_AUTHORIZE_URL=https://login.microsoftonline.com/organizations/oauth2/v2.0/authorize
ALEPH_OAUTH_TOKEN_URL=https://login.microsoftonline.com/common/oauth2/token
ALEPH_OAUTH_SCOPE=openid profile email user.read
ALEPH_OAUTH_TOKEN_METHOD=POST
Sentry
Aleph is able to report issues to a Sentry instance. To enable this you need to create a project in your Sentry instance and configure the SENTRY_DSN setting in Aleph. Leaving this setting empty disables the feature.
You can set the environment via the SENTRY_ENVIRONMENT setting.
Mutual TLS
To provide an extra layer of security, it is possible to configure the services (postgres, redis and elasticsearch) to speak mutual TLS (mTLS) with each other. Managing client certificates for this matter requires some encryption knowledge and experience and is a seperate topic that can not be covered within this documentation.
Once you have configured and deployed the services with TLS, the connection settings in the environment vars need to be adjusted:
# redis
REDIS_URL="rediss://:<password>@redis:6379/0?ssl_certfile=/certs/redis.crt&ssl_keyfile=/certs/redis.key&ssl_ca_certs=/certs/ca.crt"

# postgres
ALEPH_DATABASE_URI="postgresql://<user>:<password>@postgres/aleph?sslmode=verify-full&sslrootcert=/certs/ca.crt&sslcert=/certs/postgres.crt&sslkey=/certs/postgres.key"

# elasticsearch
ALEPH_ELASTICSEARCH_URI=https://<user>:<password>@elasticsearch:9200
ELASTICSEARCH_TLS_CA_CERTS=/certs/ca.crt
ELASTICSEARCH_TLS_CLIENT_CERT=/certs/elastic.crt
ELASTICSEARCH_TLS_CLIENT_KEY=/certs/elastic.key
ELASTICSEARCH_TLS_VERIFY_CERTS=1
Scaling workers
Workers in Aleph (the aleph-worker as well as ingest-file) are based off common code in servicelayer. Based on the WORKER_THREADS setting these workers are able to run either in-process or in threads. The default value will start as many threads as Python’s multiprocessing.cpu_count() reports. For the purpose of scaling workers and getting more predictable performance Aleph’s disable threading by setting the WORKER_THREADS=0, thus running one worker per process. This way one would scale the amount of necessary workers by scaling up the container count.
Troubleshooting
Troubleshooting help can be found in the Technical FAQ.